We occasionally link to goods offered by vendors to help the reader find relevant products. Some of these may be affiliate based, meaning we earn small commissions (at no additional cost to you) if items are purchased. Here is more about what we do.
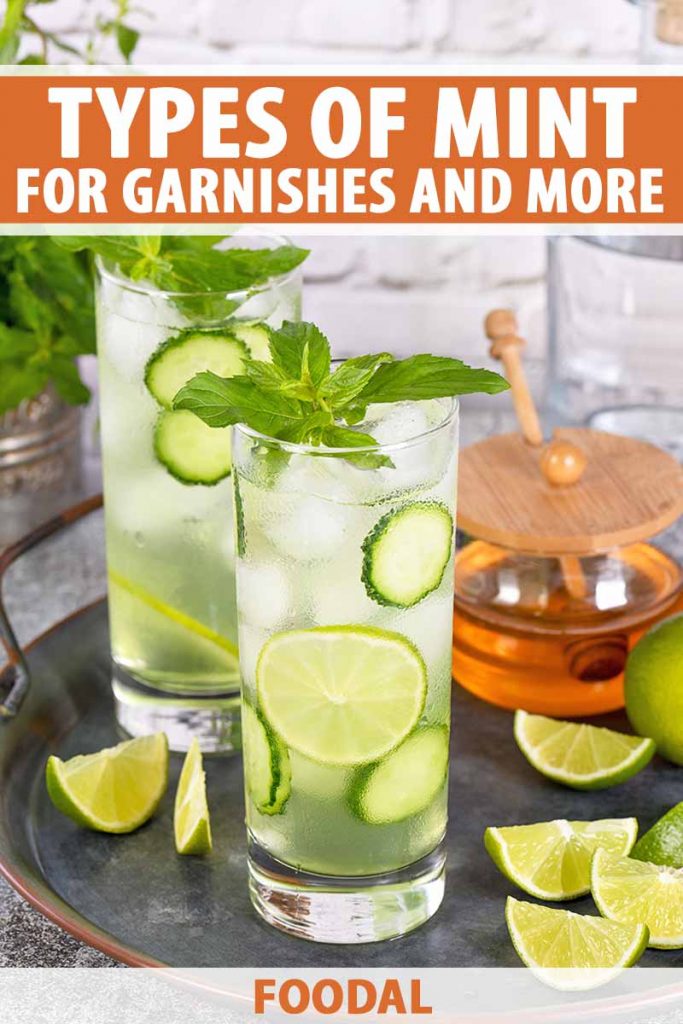
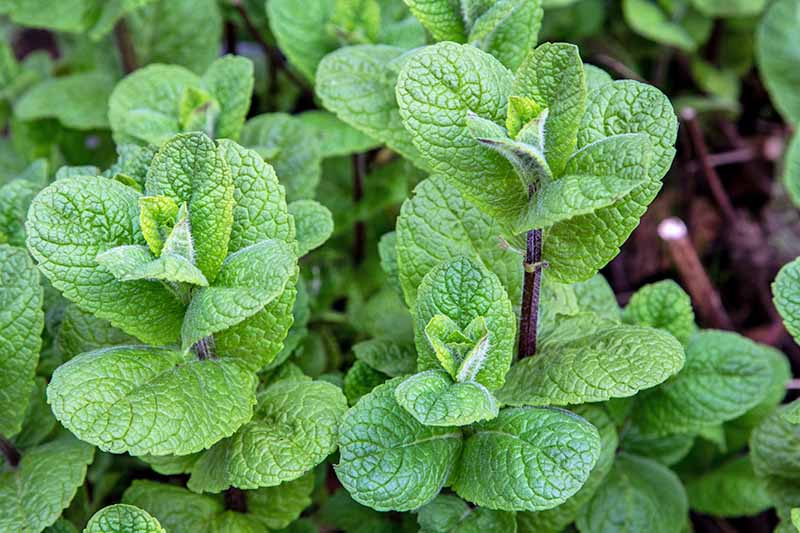
Mint is an aromatic herb in the Mentha genus of plants prized for its refreshing aroma and flavor. Native to Australia, Eurasia, North America, and southern Africa, it has a history of culinary and medicinal use that dates to antiquity.

The “Mentha” genus honors the Roman mythological Menthe, an object of Pluto’s love, cursed by Proserpine to live out her life as a trodden-upon weed. It contains 25 species.
It’s likely you are familiar with spearmint, the type we refer to generically as “mint” at the grocery store and in recipes. The main organic compound in its essential oil is 49.6 to 76.6 percent carvone, for a soft, sweet scent and taste.
And another you probably know is peppermint, of chocolate bark and candy cane fame. It’s a hybrid of two species, spearmint and watermint. Its essential oil contains 38.45 percent menthol, the essence of its sharp fragrance and flavor.
You’ll find an assortment of delicious recipes from Foodal that call for mint. It is versatile, appearing in foods ranging from beverages, confections, and frozen treats to salads, soups, and savory dishes.
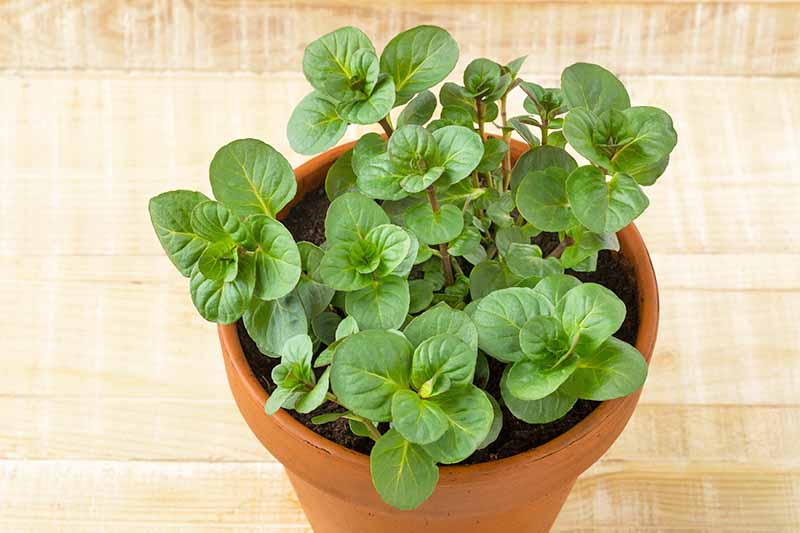
This article intends to expand your horizons by introducing nine exciting mint varieties. You may find them in a local farmers market or specialty grocery store. If not, you can grow your own with mint-growing instructions from our sister site, Gardener’s Path.
Here’s what’s in store:
Let’s jump in and find out what’s unique about each of them!
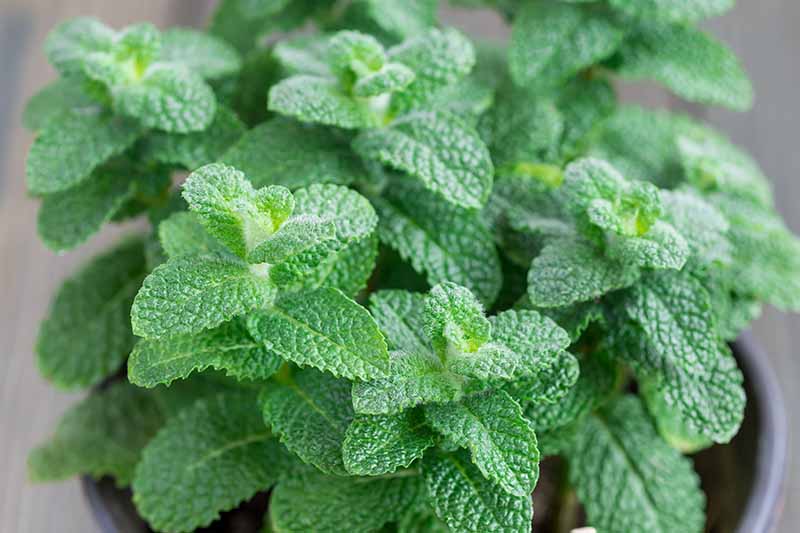
Discover 9 Mint Varieties
The following are tasty departures from the generic grocery store fare to which many have become accustomed. They tickle the palate and stimulate conversation, just what your next cocktail or dinner party needs. In addition to the edible leaves, the spikes of tiny fragrant blossoms are also fit to eat.
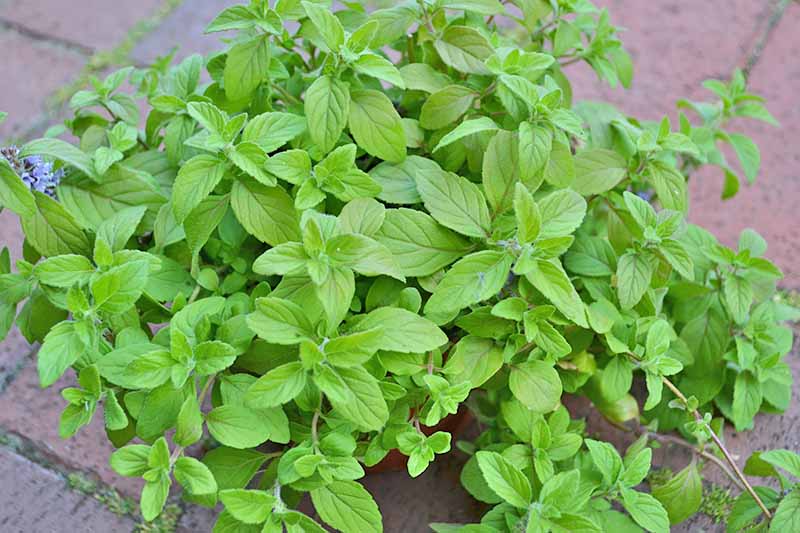
1. Apple
Apple, aka wooly mint, is pleasing to the nose and palate with a subtle suggestion of green apples.
The leaves are best uncooked. Muddled or gently crushed leaves are delicious in summer beverages, like a mint lime ginger splash, sparkling pomegranate lemonade, and your favorite cocktails.

New Star Food Service’s Muddler, available on Wayfair
New Star Food Service’s muddler is ergonomically designed for comfort while preparing leaves for your favorite drinks.
The muddler by New Star Food Service is available via Wayfair.
Toss a few leaves on your fruit cups and freeze some into ice cubes and homemade ice pops for cool summer refreshment.
2. Banana
The tropical, fruity notes of the banana variety beg to accompany island fare.
The leaves are best when they are fresh. Garnish a fruit salad yogurt parfait or muddle them to add to your favorite fruit beverages.
Mince or chop a few to spread over a baked ham just before serving. Banana plays well with brown sugar and pineapple.
Add a few coarsely chopped leaves to tropical rum punch freeze pops and fresh papaya ginger smoothies for well-deserved summer refreshment.
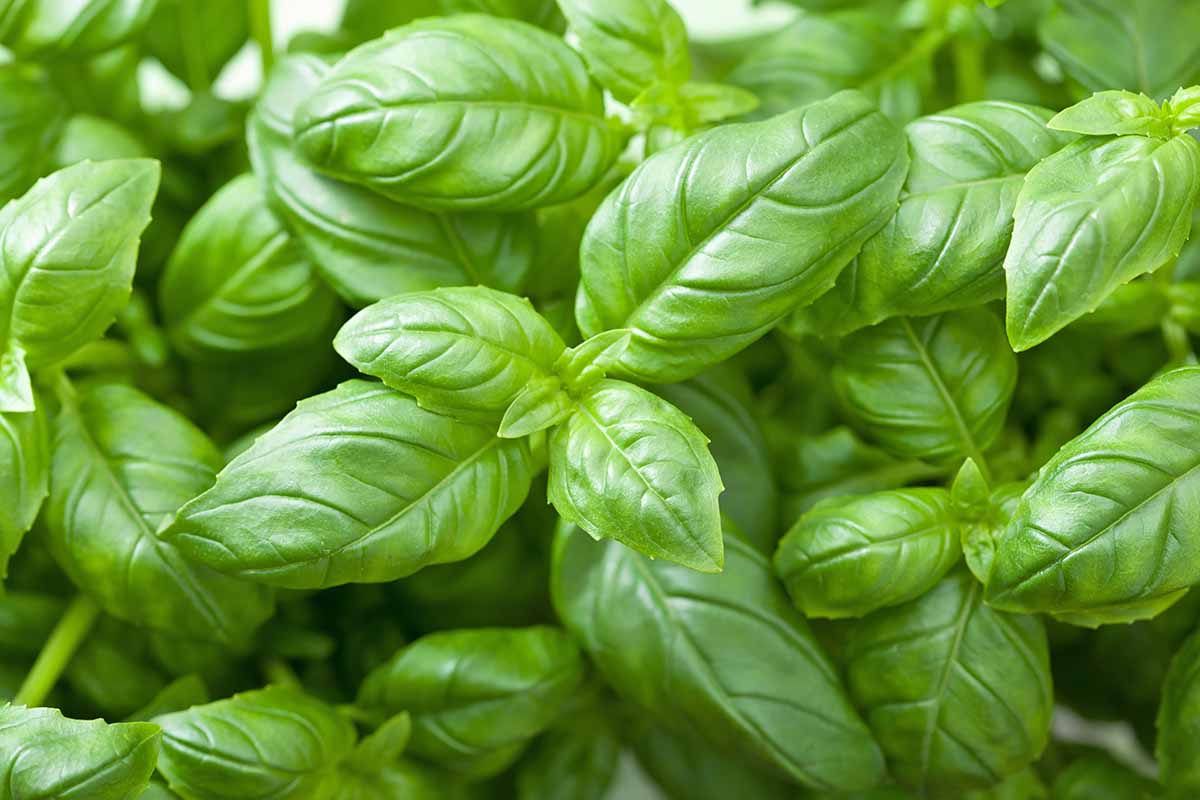
3. Basil
The pungent high notes of the basil type surprise with a spicy sensation. For the best flavor, use fresh as a garnish, muddle for fruit infused water, or tear and add to rustic cold plates, like a simple summer tomato cucumber salad.
Add whole or coarsely chopped leaves to cooked tomato-based recipes like oven-roasted tomato sauce just before serving. Do not add it too soon, or the flavor will dissipate.
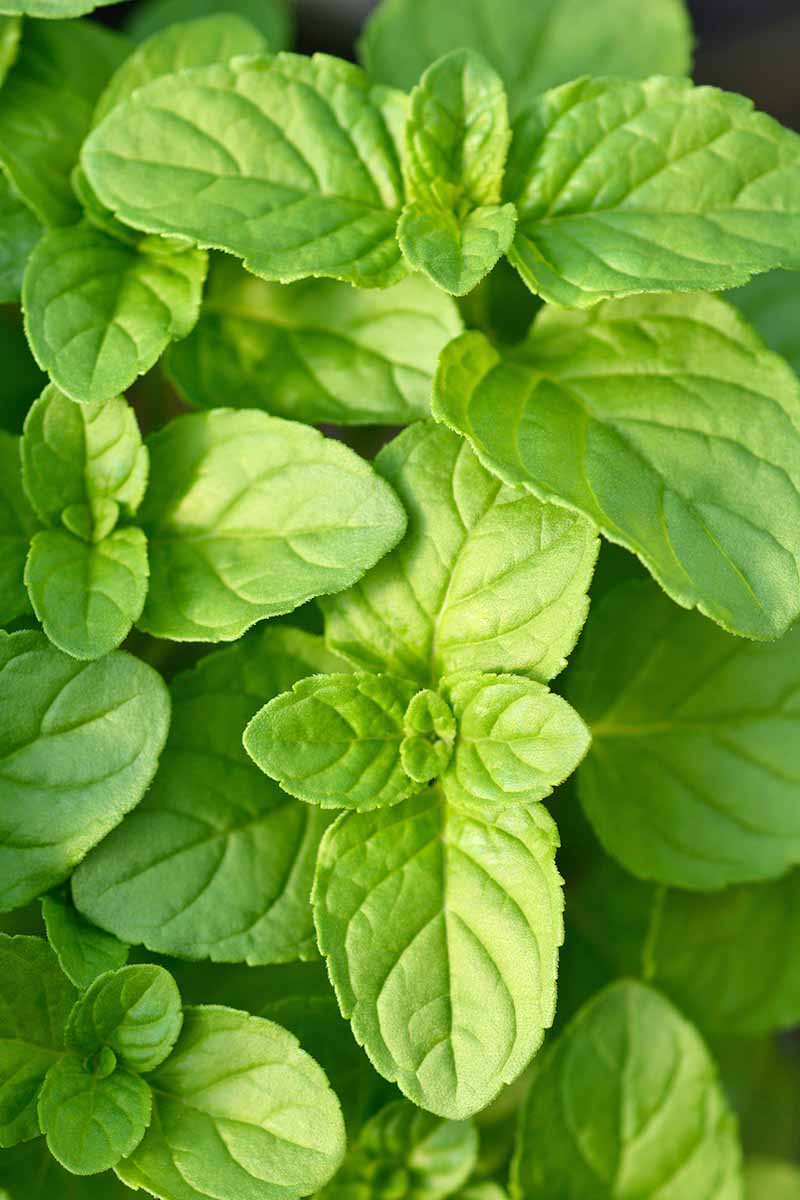
4. Chocolate
With subtle overtones of chocolate, this type is the quintessential garnish for beverages made with chocolate and coffee. And it’s the signature ingredient in a chocolate mint mojito.

Chop it coarsely to sprinkle over vegan chocolate ice cream or blend a few leaves into a coconut chocolate coffee smoothie.
Sprinkle coarsely chopped leaves over grilled lamb chops just before serving, and place a leaf between the chocolate and marshmallow the next time you make cinnamon s’mores.
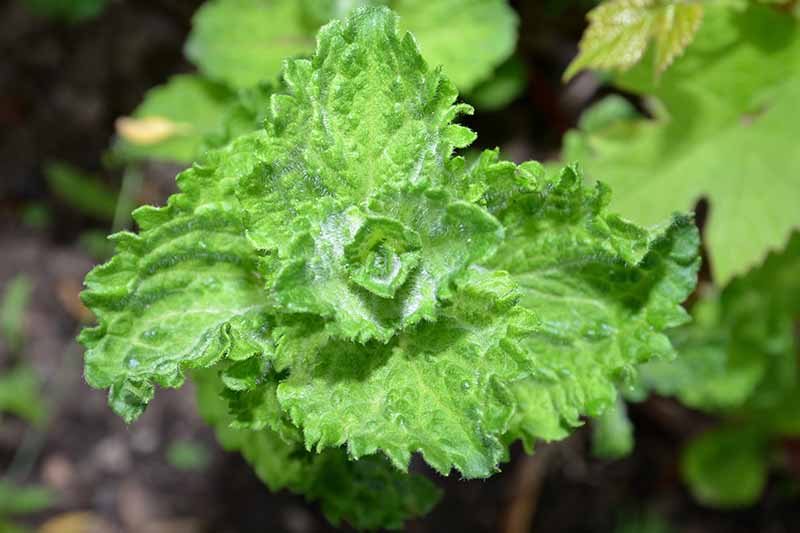
5. Curly
This type is unique for its sturdy stems and attractive, curly foliage rather than a dual flavor sensation.
Use it as a drink garnish, but instead of perching it on the edge of a glass, let the long stem stand tall, like “le bois lélé,” a natural wood swizzle stick.
This type’s the perfect accompaniment to a blackberry and lemon cocktail, mint lime ginger splash, or passion fruit mocktail.
6. Grapefruit
Grapefruit mint offers earthy tones for a tart and musky option.
It pairs well with foods that feature grapefruit as well. Sprinkle a few leaves into a bright kale and grapefruit salad with spiralized apple and red onion. Use it to garnish sweet and tart grapefruit and honey sorbet, and add some to the juicer for a fresh morning wake-me-up.
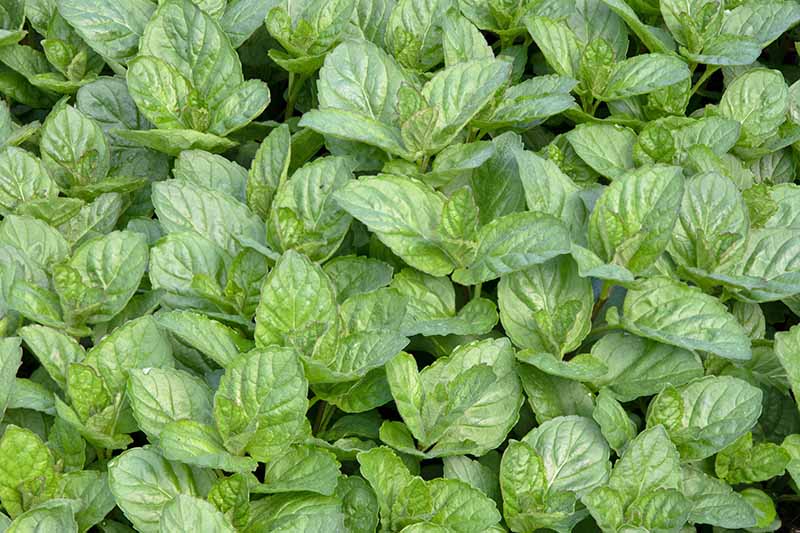
7. Mojito
If you’re a fan of the classic Cuban highball known as a mojito, this is the herb you’ll need to get an authentic citrusy aroma and flavor for two of our favorite variations, an old school mojito with an icy twist, and a tasty seasonal rhubarb mojito.
Muddle and enjoy the leaves in citrusy summer punches, sprinkle a few over fruit cups, and garnish cool, decadent key lime and lemon meringue pie wedges before serving.
8. Orange
Also known as eau de cologne or Bergamot mint, the orange kind has a robust citrus-spice aroma with hints of lavender. It’s best used fresh, and muddling brings out the most intense flavor.
Sprinkle the leaves over fruit and pasta salads; muddle them for dressing, lemonade, and iced tea; and use whole sprigs as garnishes for seasonal desserts.
Paired with foods containing orange, this type highlights the citrus notes with a cooling sensation. Garnish a cup of pomegranate orange ice cream, and blend some into an orange creamsicle smoothie, and strawberry orange mint juice. Don’t forget to set a few sprigs aside to garnish them, too!
9. Pineapple
Pineapple is a cultivated variety of the apple type discussed above. Unlike the usual green, it has leaves that range from green to green with cream margins and all cream in color. Selective pruning of green stems promotes the growth of more white to preserve the variegation.

Mildly fruity, the pineapple type complements tropical fare ranging from barbecue to beverages, and sorbets to sauces.
Muddle some and add it to a dairy-free pineapple coconut smoothie, garnish a glass of the best tropical lemonade, or coarsely chop and sprinkle it over Hawaiian grilled chicken thighs.
A Medley of Mints
Get ready to expand your culinary repertoire with these nine exciting, fragrant, and flavorful options.

Incorporate them into recipes ranging from beverages and light fare to roasts and sauces. They’re sure to whet the appetite and peak the curiosity of those who partake.
You can place fresh stems in a cylindrical container with an inch of water. Snip the bottoms off the stems and refresh the water daily; they should last a week or more.
Store dry leaves for up to a year, and maybe more, in an opaque, airtight container in a cool, dry location.
Please see our article,“How to Preserve Your Herbs,” for more information on hanging, freezing, steeping, drying, and storing.
And finally, as mentioned, some specialty varieties are difficult to find. If none of the types you read about here are readily available, consider growing your own. Let your appetizers, beverages, desserts, and entrees sing with a medley of refreshing, aromatic mint varieties!
If you enjoyed this article, we recommend reading the following herb guides next:
- Amazing Oregano: Herbal Superstar
- Flavorful French Tarragon: The King of Herbs
- Spice Up Your Meals with These 6 Different Types of Basil
© Ask the Experts, LLC. ALL RIGHTS RESERVED. See our TOS for more details. Product photo via Wayfair. Uncredited photos via Shutterstock.
About Nan Schiller
Nan Schiller is a writer from southeastern Pennsylvania. When she’s not in the garden, she’s in the kitchen preparing imaginative gluten- and dairy-free meals. With a background in business, writing, editing, and photography, Nan writes humorous and informative articles on gardening, food, parenting, and real estate topics. Having celiac disease has only served to inspire her to continue to explore creative ways to provide her family with nutritious locally-sourced food.