Blenders are convenient, a cinch to clean, and require nearly no brainpower to use. Those are all big benefits for non-morning people who are trying to live and eat well!
But…
Oh, no, that’s not good.
There is a “but” when it comes to how great these appliances are.
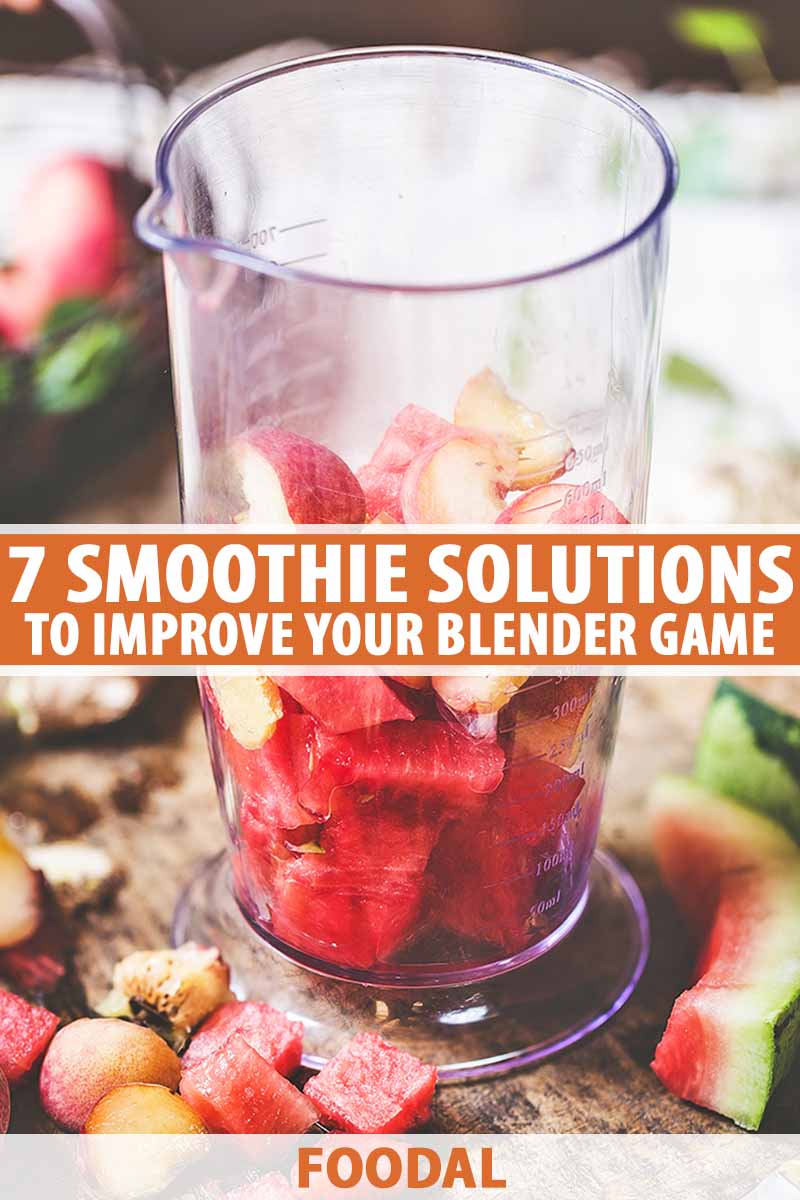
Occasionally, you’ll run up against a few issues, and one recurring problem will show up repeatedly, leaving you wondering what to do. Sometimes, small chunks of frozen fruit, ice, or powders gunk up either at the bottom of the blending container, or under the blades of the base.
We link to vendors to help you find relevant products. If you buy from one of our links, we may earn a commission.
This is both annoying and frustrating. Why spend money on a product that does this?
Well, the benefits tend to outweigh the annoyances.
When an easy-to-use blender includes dishwasher-safe components, and is specifically designed for making smoothies that are perfect to grab and go, it makes sense to have one, despite the potential drawbacks.
But I don’t think we have to settle for inferior blended beverages. We should be able to have our smoothie and drink all of it too!
After a bit of trial and error, we’ve come up with the following solutions to help users out.
If you’ve experienced these common issues with chunky ice or frozen produce before, hopefully our tips will help to turn those smoothies around.
And if you’re in the market for a personal blender, check out these solutions to see how you can adjust your smoothie making process in case this situation happens to arise.
What You’ll Learn
1. Evaluate Your Powder Usage
If protein powder or a pre-made smoothie mix with stabilizers is what you’re adding to your morning blend for the express purpose of contributing extra flavor, it’s time to submit your usual routine to some experimentation.
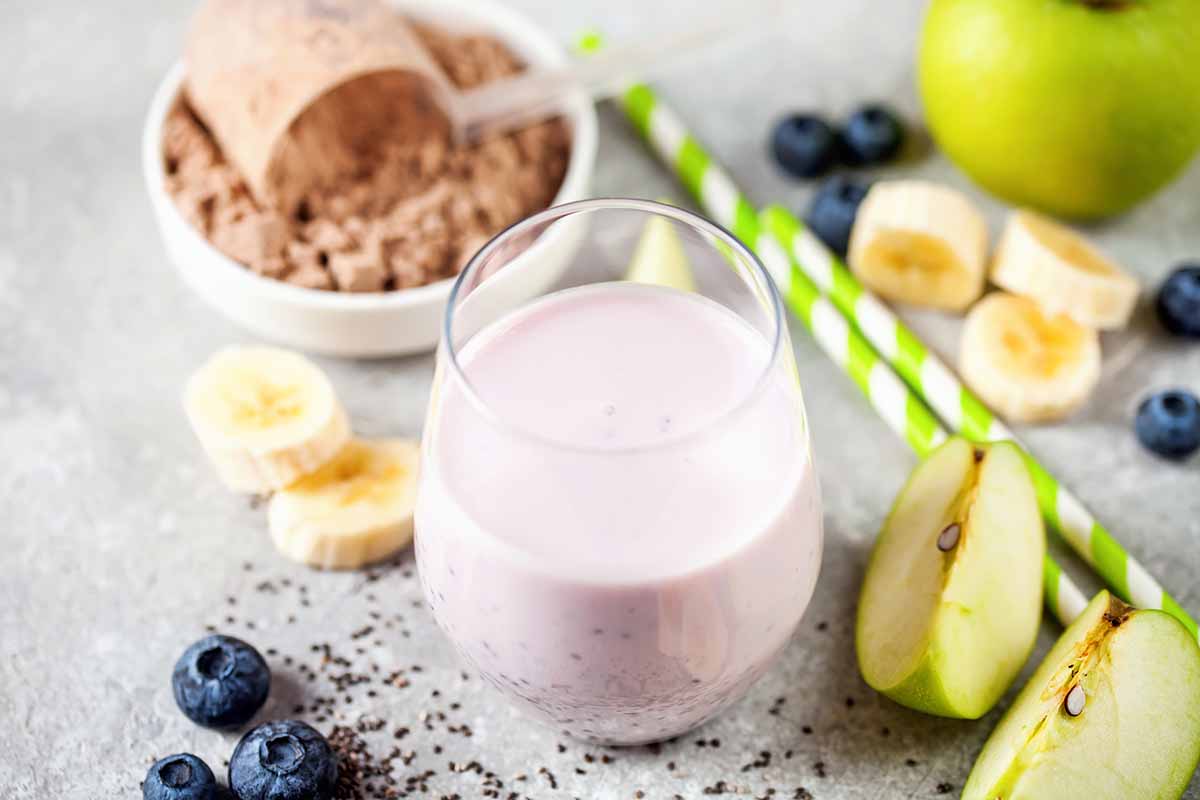
Try 100% cocoa powder, or a dash of vanilla extract or paste. A pinch of salt added to anything – sweet recipes included – will amplify the natural flavors of your original recipe. And all of these options will blend more smoothly.
Remember that a little bit of any of these ingredients will go a long way, and it will serve to completely remove the filler ingredients from your smoothies that are thickened and made gritty through artificial, or just unnecessary, means.
If your smoothie or shake is still not sweet enough, add a natural sweetener. This can be anything from honey or agave syrup to maple syrup or naturally sweet canned coconut milk.
2. Adjust Ingredient Layers
For machines like the S-Series from Vitamix, user manuals that come with the product specifically instruct users to add ingredients in the order in which they are listed in the provided recipes.
And this is great advice!
But what to do if you don’t have these instructions on hand, or they’re totally unfamiliar to you?
We’re here to help.
The main thing to keep in mind is that a smoothie shouldn’t be built willy-nilly, with a little bit of this and a little bit of that tossed in without any specific plan or measuring of ingredients involved.
In fact, there’s a bit of physics involved when you whir up a delicious frozen beverage, and the order of the ingredients that you add is crucial. The quantities are also important, but we’ll get to that in a little more detail later on.
Some strategy is required to achieve the best results, so be sure to follow a plan, and stick to it.
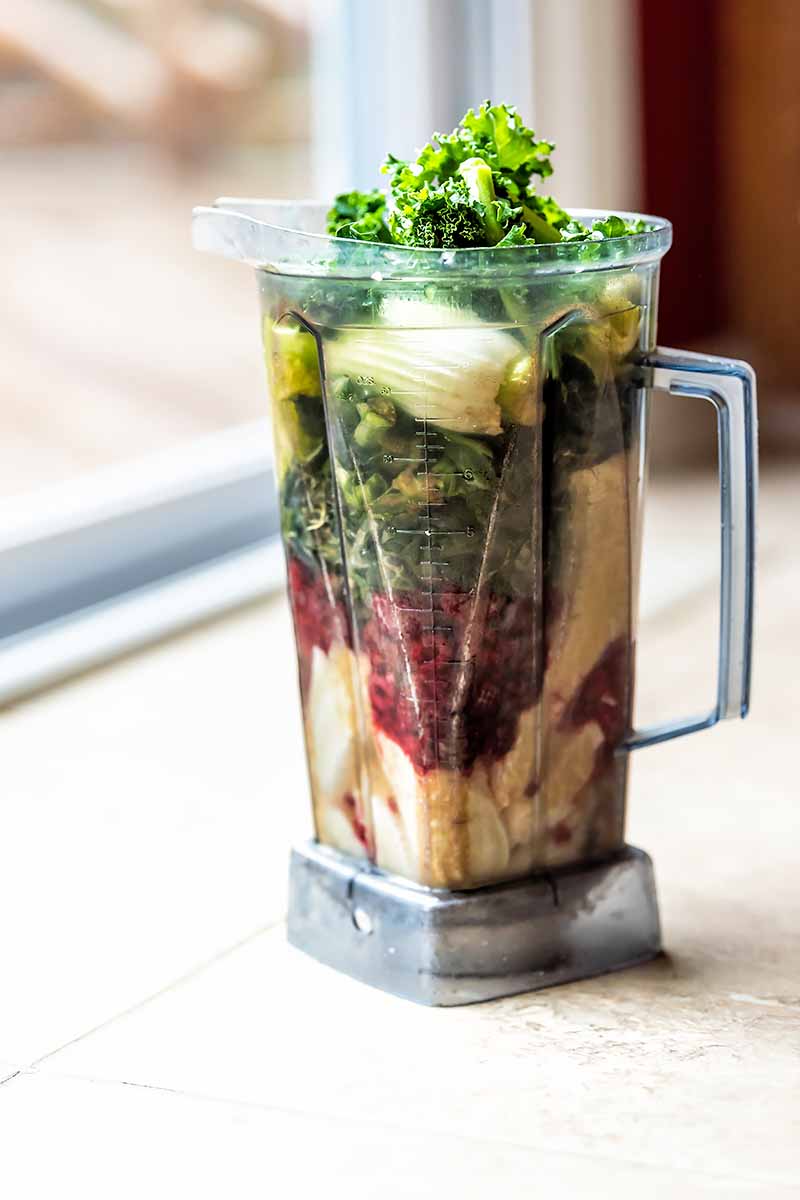
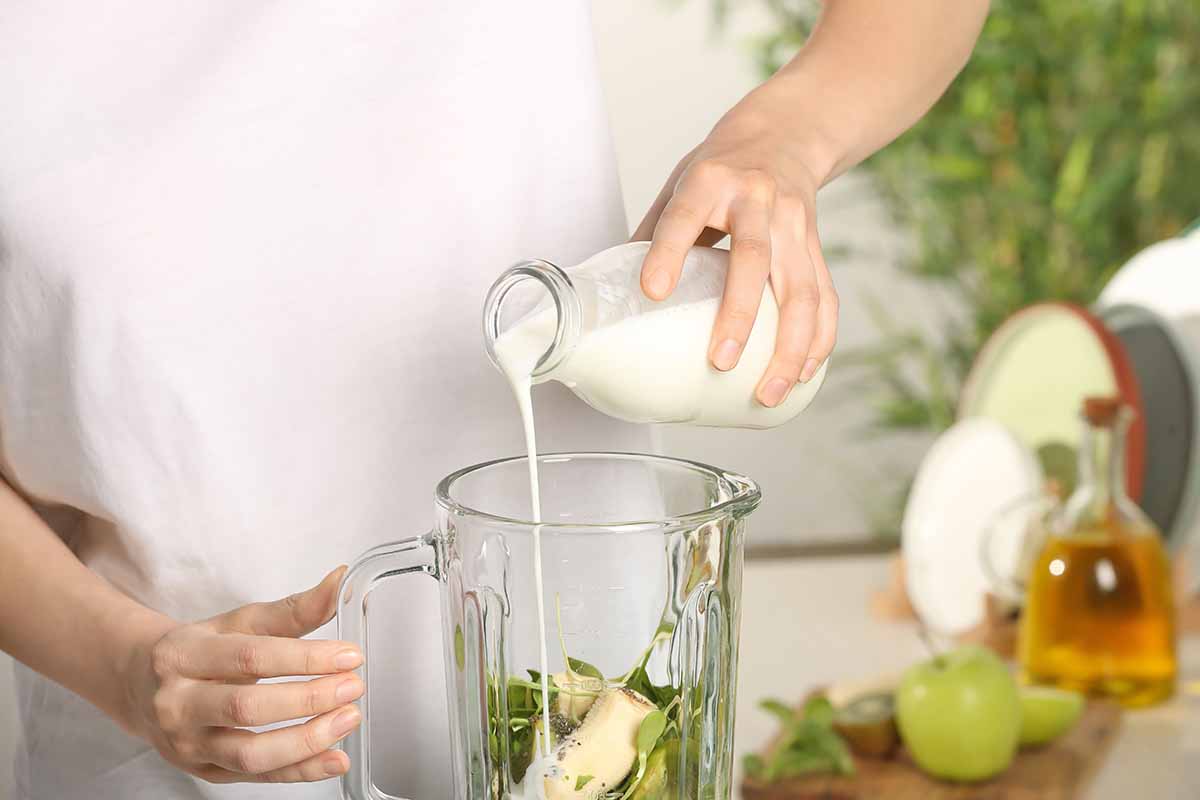
As a general rule of thumb, here’s the best way to load up that canister before you blend. This is in order from the bottom – which is closest to the blade – to the top:
- Liquids (water, juice, yogurt, milk)
- Dry ingredients (powders and other add-ins)
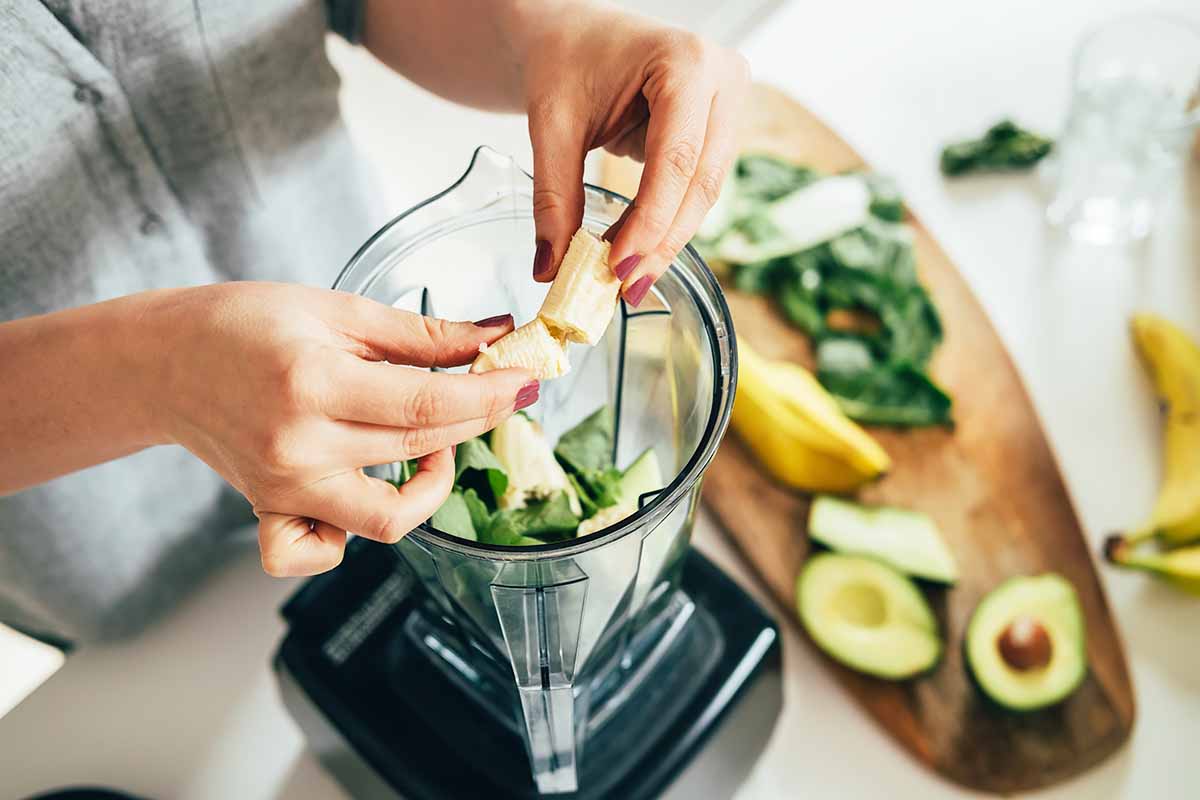
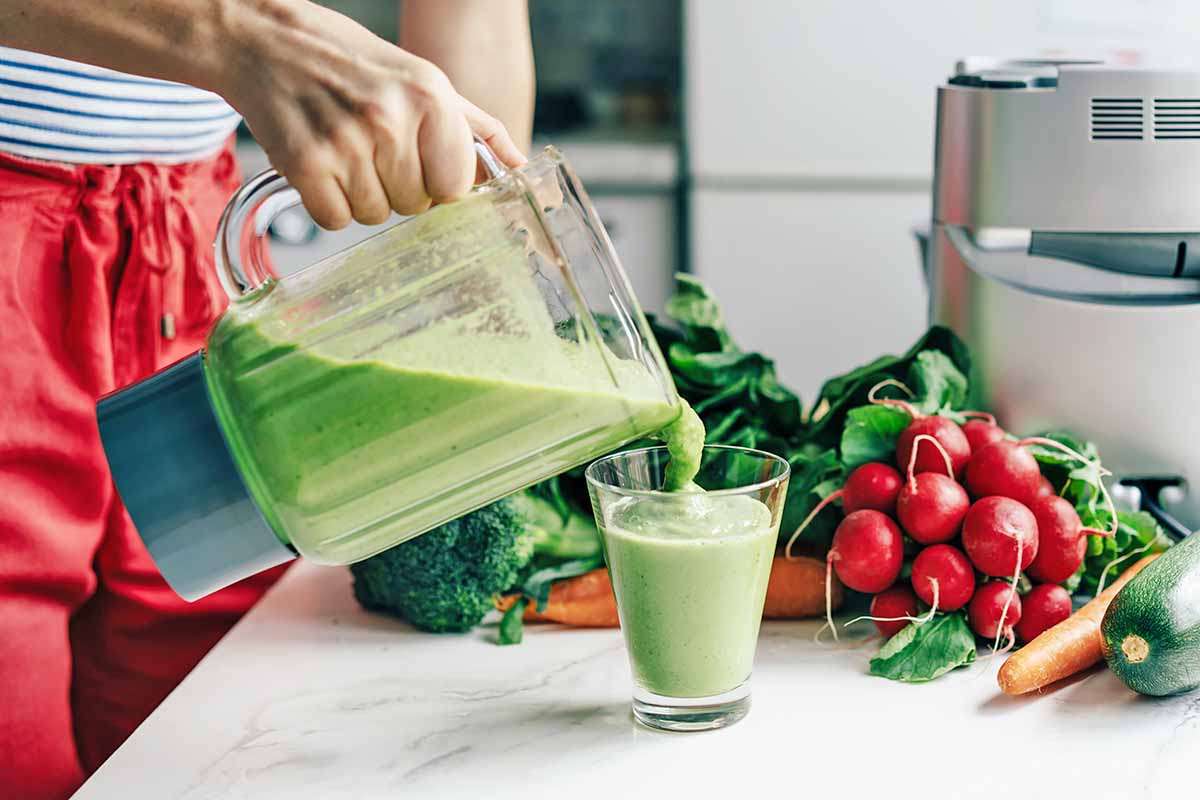
- Leafy greens and thick pastes (kale, nut butter)
- Room temperature or chilled fruits and vegetables
- Ice and frozen ingredients
Keep in mind that this is the order in which you should add your ingredients if you are using an upright blender that will be loaded with the blade mechanism on the bottom.
If your blender canister is loaded and then flipped over, as with the Nutribullet Pro 900, fill it up in the opposite order, starting with the ice, so it will be on top when you blend.
As long as soft, high-moisture ingredients are added closest to the blade, and hard and frozen ingredients are added the furthest away, this will help to push everything you are whipping up towards the blades without getting stuck. Perfect!
For an added boost, whisk any powdered ingredients into the liquid before adding them to the canister. Helping to pre-blend them in this way will help to give them a jump-start so you won’t wind up with dry, lumpy clumps.
Don’t want to wind up with extra dirty dishes on your hands? A quick stir or shake in the blender canister before adding your greens and other ingredients should do the job – it’s a lazy way to reduce cleaning responsibilities!
3. Increase Liquid
I don’t like runny smoothies, so please understand how weird it feels to me to be giving this advice. But trust me when I say it is tried and true, and it really does work.
In fact, this works very well in high-quality personal blenders like the Vitamix S55 and Breville Boss To Go, which operate at high speeds.
Once the liquid ratio is correct, the S55 and Boss To Go pulverize everything to such a fine consistency that the liquid is going to chill and thicken the smoothie regardless.
Whatever make and model you have, play around with ratios and call it a science experiment. If the mix is too thick, add a little liquid at a time. If there’s too much liquid, add some more frozen ingredients.
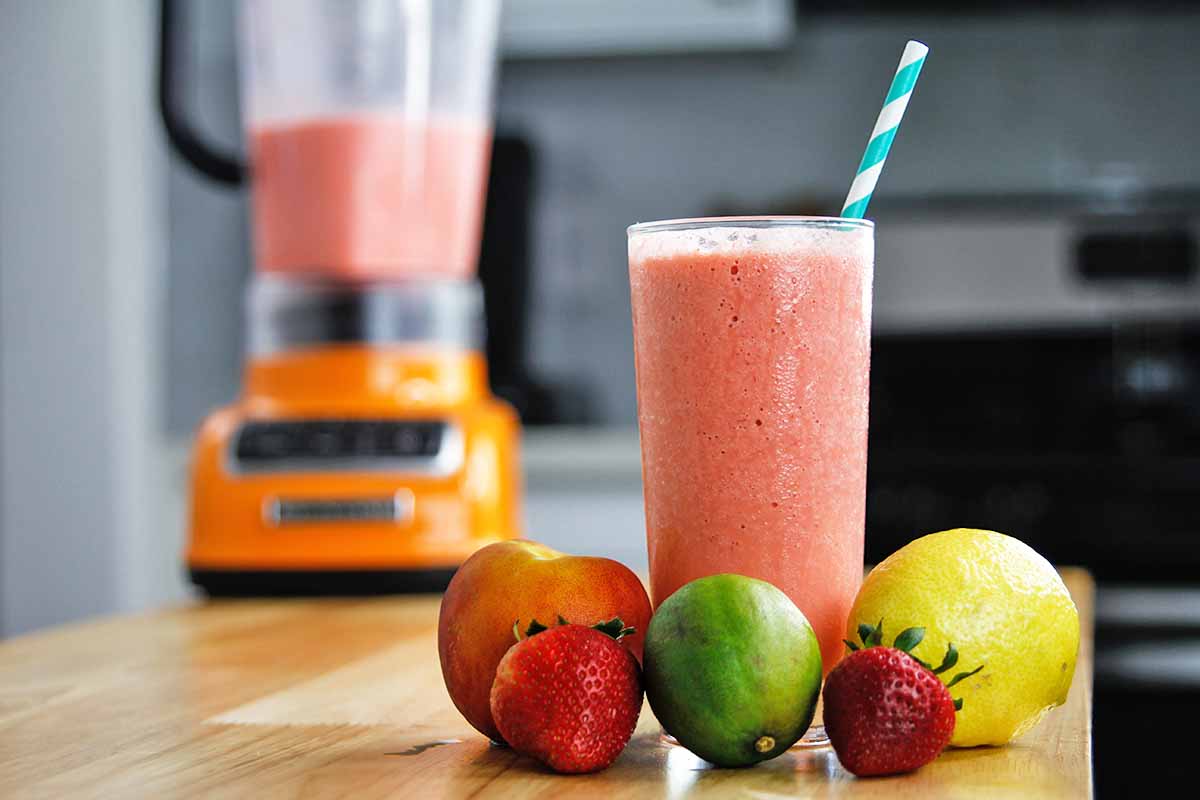
Simple recipes like our mixed berry smoothie are very forgiving if you need to make these adjustments.
4. Reduce Ingredients
If you’re not getting a smooth blend, overloading your blender could be at play.
All are not created equal, and they come in a variety of sizes. If you’re starting with a recipe that is just too big for your appliance, you may get a chunky mix, leaks, or other unpleasantries.
So give this tip a shot:
Even if the ingredients are below the maximum line indicated on your pitcher or canister, aim even lower than that. And never, ever fill above the maximum fill line indicated, or within 2-3 inches of the top of your canister.
Blending in batches may be the way to go when it comes to a recipe that is just too large for your home kitchen appliance, or if you need a bigger beverage to take with you when you head out for work in the morning.
I don’t love it either, but taking just a little time on a day off to find the perfect ingredient ratio can make for more seamless weekday mornings. If you reduce your favorite recipe to find what works, remember to record what you did, either on your phone or your go-to planner, to get the perfect mix every time.
Another variation on this tip is to reduce the size of the individual ingredients that you’re working with.
For instance, if you’re using frozen bananas – which are the best, am I right? – compare the pieces that you’re starting with to a standard ice cube. Are they about the same size? Perhaps the fruit chunks are larger? Maybe you’re trying to stick a whole frozen banana in there?
If this is the case, you need to help out your blender by starting smaller. Roughly cut the fruit while it’s fresh to freeze into perfect 1-inch pieces, erring on the smaller side to get that perfect blend.
Personally, this is why I don’t like store-bought frozen fruit. Even when the bag says the mix is made for smoothies, the pieces are often too large.
When I take 15 minutes to rinse, chop, and bag my own, the blends come out much better. I’ve also noticed a taste difference between freshly frozen fruit that has been in the freezer for a week versus frozen fruit from the store. The flavor is noticeably brighter, and I enjoy the end product more.
5. Pulse
Using the pulse function early in the blending process can help the ingredients to circulate.
Not all blenders will have a set of buttons that make this obviously available to you, but all of the personal types that I’ve encountered make it possible to quickly pulse on and off repeatedly, no matter what other functions are provided.
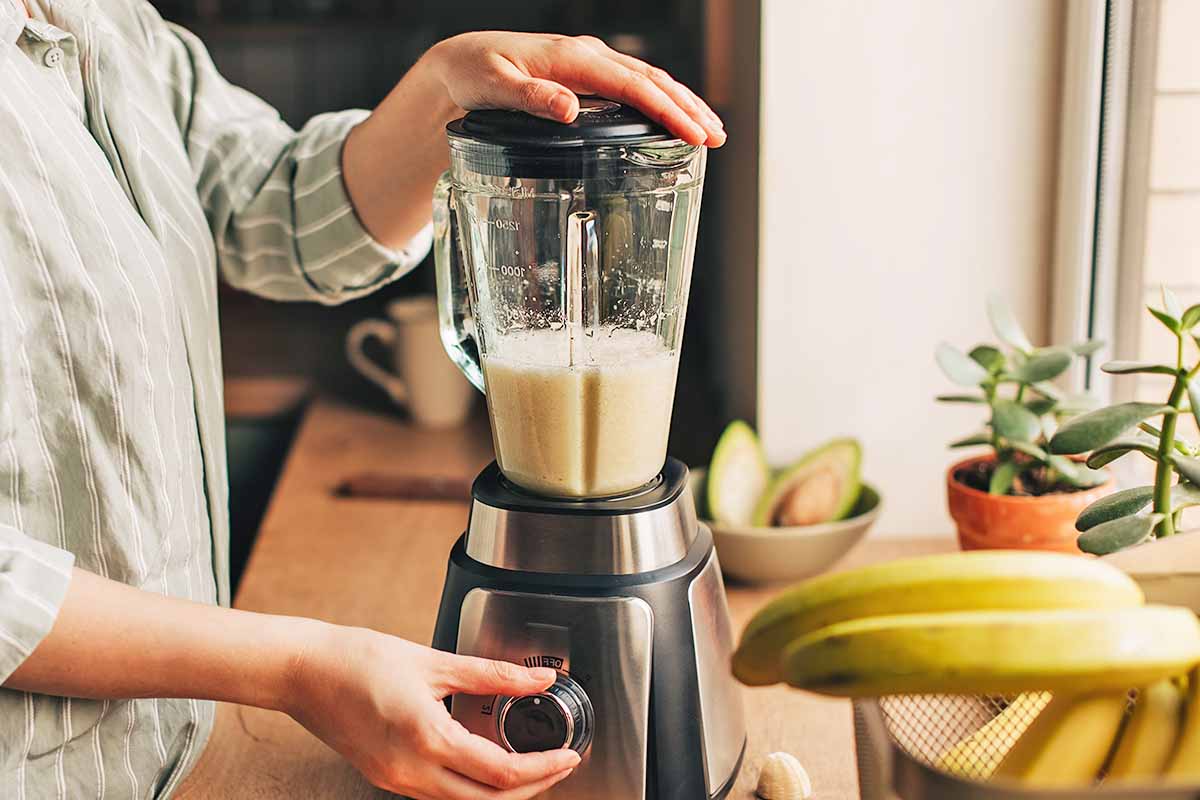
After a few spins, once the ingredients have started to mix and look like they’re blending, set it to blend for the appropriate amount of time.
Don’t let your blender continue to run without keeping an eye on it, and never keep it on for a longer period than the manufacturer recommends. For smoothies and shakes, this typically isn’t very long, often 30 seconds or less.
Continuing to blend stubborn ingredients that are stuck in the base or on the sides of the canister or under the blades won’t help to make a smoother drink! Instead, you risk burning out the motor on your appliance.
And that brings me to my next tip…
6. Use a Spatula
I know, I know – we want TV-perfect smoothies where our roughly cut foods slide effortlessly down the sides of the container to make a perfect puree. Movie magic. YouTube goals.
Depending on the amount of liquid we use, how finely we dice the ingredients, how perfectly we load the canister, and other factors, we must come to terms with the fact that a spatula is sometimes required.

There’s no shame in using a spatula to mix up the ingredients halfway through a blend.
It’s pretty obvious why this solution is so far down the list; I won’t deny that it’s a bit cumbersome. Unscrewing the blade base and stirring up ingredients is a bit time consuming, and it feels like I’m doing the blender’s job.
Have I mentioned that I’m not a morning person? It’s never in my game plan to take the extra time required to re-stir a smoothie. But sometimes, things just don’t come together the way you want them to, and this is such a simple fix.
Scrape down the sides using a stiff plastic blender. Softer rubber and silicone should generally be avoided since you risk tearing them on the blades, but they can be used as well if you’re careful.
If your appliance came included with a tamper tool, it’s perfect for this task.
Add a splash of more liquid if the mix appears to be on the thick side at this point, and you’re back in business, on your way to a perfect final product.
7. Make the Switch
This suggestion might sound like a cop-out, but it 100% is not, I assure you.
While higher priced and larger than the personal blender category, top-of-the-line upright blenders like the Vitamix 750 or Breville Super Q work so efficiently. They are masterful blending machines, and you’ll be able to use them for far more kitchen tasks than just individually-sized smoothies.
My favorite blender model right now is the Vitamix 5200, and it never lets me down.
I only offer this as a solution because, if none of the above suggestions have worked for you, this probably means it’s time for an upgrade with a bigger model. Blades can become dull, and lower-powered motors aren’t going to magically get faster.
Treat yo’ self, and start shopping. We know how important that morning shake is, and there’s no shame in investing in a high-quality machine that does the job right.
As Easy As 1, 2, 3
These tips and tricks have saved me from frustration – and clogged straws – many times, and I hope they provide a solution to your smoothie woes!
If you’re thinking of switching to a countertop blender, don’t forget to check out our article on How to Choose a Better Blender.
And if you’re looking for some options that were designed with excellent proportions in mind, visit our archive of smoothie recipes.
Have you come up with an easy solution that’s not here? Did you have an epic smoothie fail, or a glorious smoothie success that you want to share? Tell us all about it in the comments below! And if we can help with anything else, let us know.
Learn how to get the most out of your kitchen gear with more of our how-to tips. We think you’ll find these suggested guides helpful as you continue living your best life preparing more food fresh at home:
- How to Use Each Side of a Box Grater
- How to Use Your Refrigerator’s Crisper Drawers
- How to Cook Pasta in the Electric Pressure Cooker
© Ask the Experts, LLC. ALL RIGHTS RESERVED. See our TOS for more details. Uncredited photos via Shutterstock. Originally published July 30, 2018. Last updated February 16, 2024. With additional writing and editing by Nikki Cervone.
About Taylor Shaw-Hamp
Taylor Shaw-Hamp has loved food ever since she can remember. The more she grew, the more she discovered, and the more she had to know. Now she loves to write about her food adventures through recipes, product reviews, and blog posts. She can be found at local coffee shops across the world, so if you see her, stop by the table and say hi!