Did you know that our bodies would be impaired at the cellular level without zinc?
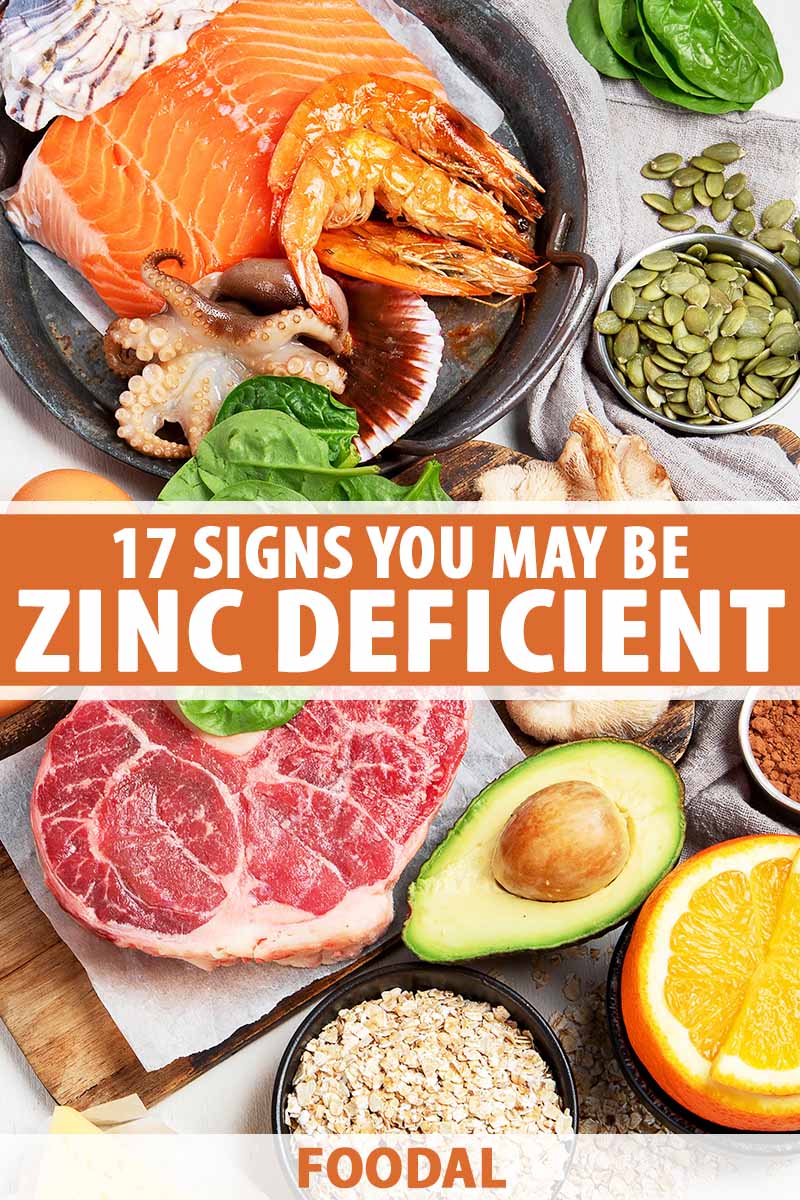
Zinc is a trace mineral that aids our immune systems in battling infection and helps create the proteins needed for strong bones, muscles, tissue, and blood. It also helps maintain good eye health.
A number of years ago, I learned that I was zinc deficient. I wasn’t surprised, as I suffer from celiac disease and have difficulty absorbing nutrients.
I didn’t know the range of symptoms my inadequate supply of this essential trace mineral could induce.
Read on to discover what I learned about the importance of zinc and sources of this crucial mineral.
Here’s the lineup:
What You’ll Learn
Let’s get started!
Why Don’t I Feel Like Myself?
Sometimes, we don’t feel quite right.
A physical exam usually includes a CBC or complete blood count to examine one’s general health.

It may reveal deficiencies in vitamin B-12 and folate but doesn’t test specifically for other vitamin and mineral levels. Doctors order these tests individually and only if conditions or symptoms warrant.
To learn more, I contacted Jan Patenaude, a registered dietitian and Certified LEAP (Lifestyle Eating and Performance) Therapist (CLT). According to Patenaude, “… you can pretty much assume anybody zinc deficient is likely deficient in other nutrients as well.”
As it turned out, I also lacked vitamin A, a key ingredient in a healthy immune system that works in tandem with zinc.
Patenaude informed me that a zinc deficiency may produce the following symptoms:
- Altered/loss of taste and smell
- Anorexia (lack or loss of appetite)
- Apathy
- Ataxic gait (uncoordinated movements)
- Decreased immunity
- Depression
- Diarrhea
- Excessive hair loss
- Fine tremor (unintentional muscle movement)
- Impaired cognitive function
- Impaired memory
- Poor night vision
- Poor wound healing
- Prostatism
- Slurred speech
- Some forms of dermatitis
- White spotting of nails
While the average well-nourished person may never suffer from such a deficiency, the issue is not limited to individuals in chronically undernourished regions of the world.
People who suffer from chronic autoimmune diseases such as celiac and rheumatoid arthritis need to monitor their intake and absorption of nutrients to avoid exacerbating their conditions with the complications of malnutrition.
Patenaude said that for people with digestive disorders who suffer from diarrhea, this is one of the first issues to address when seeking to improve the intake and absorption of zinc. Vitamin B-12 is also essential.
Patenaude also recommended limiting proton pump inhibitor (PPI) medications taken to reduce stomach acid, as they may reduce zinc absorption.
And she warned that “… you cannot just willy-nilly supplement zinc, or you can create… more harm [than] good – or a copper deficiency.”
High doses of zinc in mineral supplements may weaken the body’s immune system, adversely affect essential copper, and cause gastrointestinal distress.
Daily Requirements
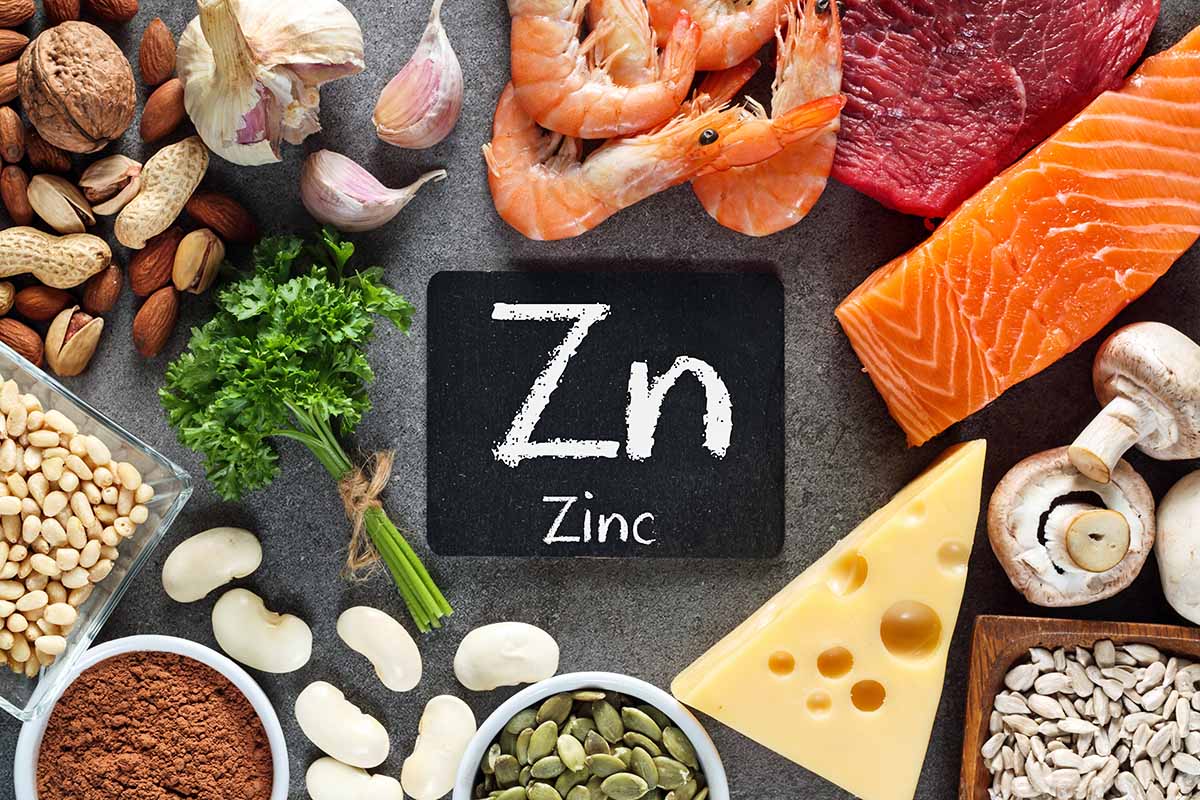
The USDA has guidelines for the recommended amounts of essential vitamins and minerals and natural sources from which we should try to get most of our nutrition.
According to the US Department of Health and Human Services National Institutes of Health (NIH), Office of Dietary Supplements, women over 19 require a zinc daily value (DV) of 8 milligrams per day, and men need 11 milligrams.
Unfortunately, the only places you’ll find this mineral listed as an ingredient are the labels of fortified foods and vitamins. Natural sources may not be as easy to identify when shopping for healthy foods.
Significant sources of nutrients contain at least 20 percent of the recommended daily value or DV.
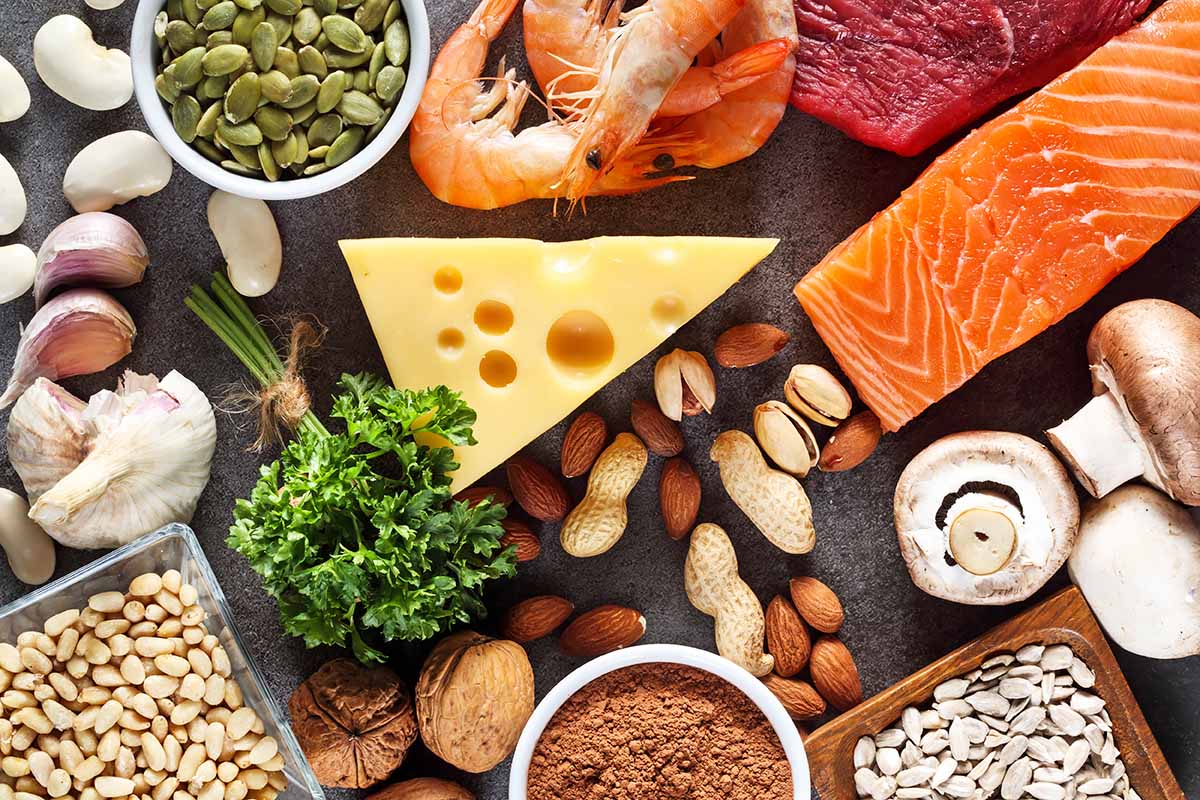
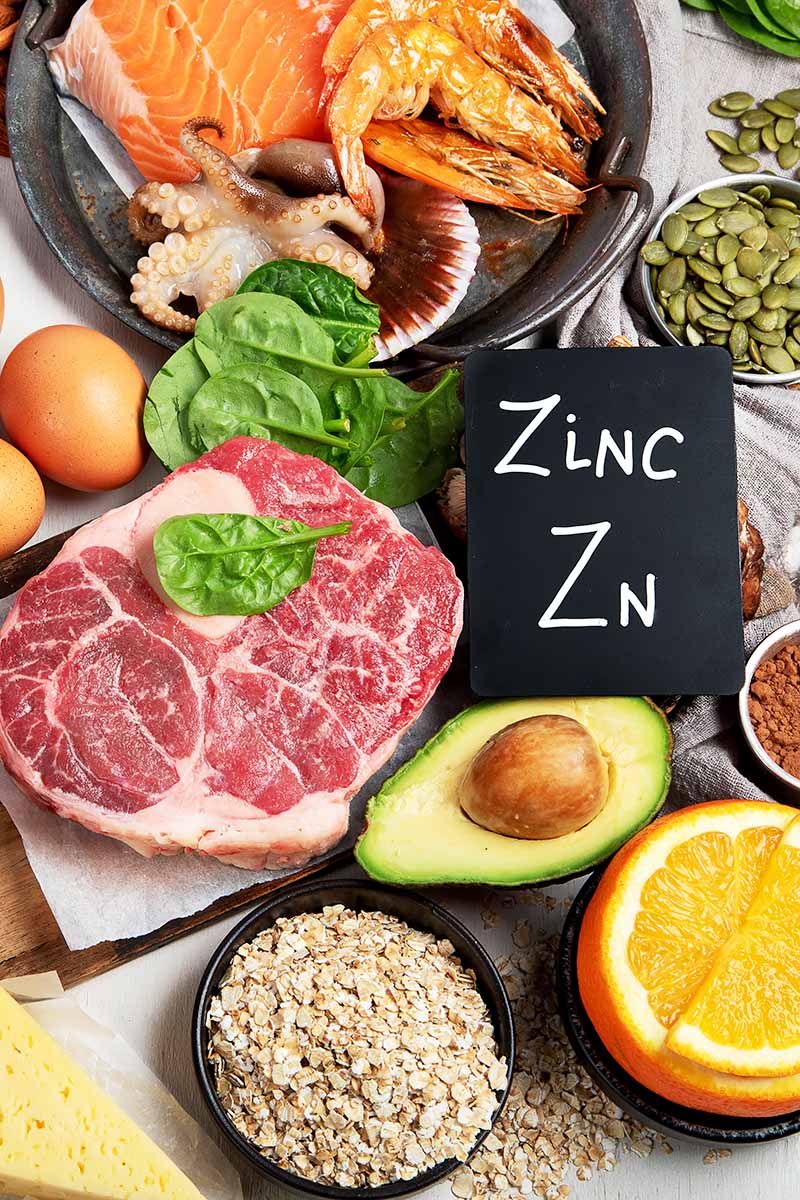
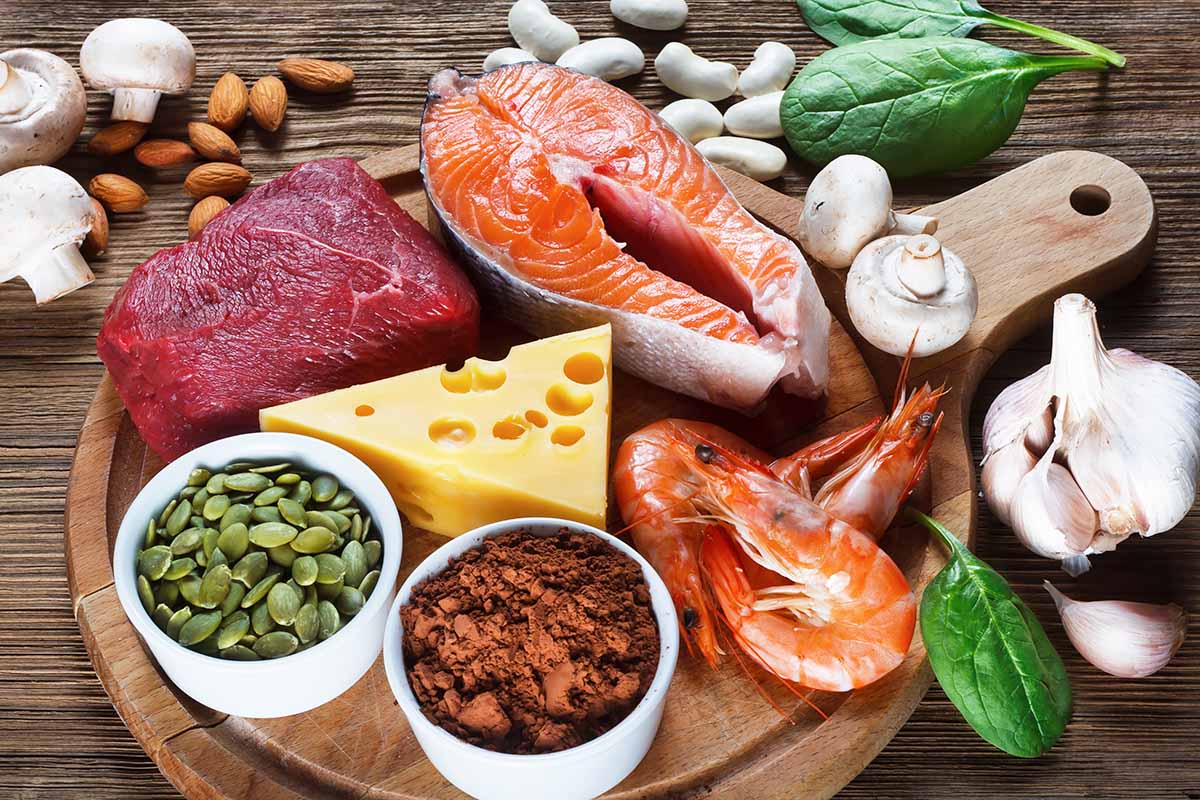
Animal protein sources are the best foods to boost zinc intake. But what about grains and plant foods?
Grains and legumes contain phytates, acids known for their anti-inflammatory properties. However, they are also known for inhibiting the absorption of minerals.
For zinc-deficient people, Patenaude recommended limiting excess high-phytate foods like grains, nuts, seeds, and legumes, or soaking them before use to reduce their phytate content.
Consuming a varied and well-balanced diet is the best way to get crucial nutrients. When in doubt, refer to the USDA and the NIH for guidance, and consult your family physician or a dietitian.
Here a Trace, There a Trace
Throughout the day, vitamins and minerals accumulate in our bodies based on diet and other factors.
While the amount of trace minerals we require is relatively small, their presence is essential to our metabolic function.
The following is a list of zinc-rich foods recommended by the NIH, with suggested recipes from Foodal to help you enjoy a varied and nutritious diet.
Quantities are rounded to the nearest tenth. Percentage of daily value (DV) is the portion of 11 milligrams per day, the maximum recommended quantity.
Alaska King Crab
A significant source of zinc is Alaska king crab. A three-ounce serving contains 6.5 milligrams for a 59.1% DV.
Be sure to read our guide to buying, preparing, and cooking crab for more information on serving crab to your family.
Baked Beans
Baked beans are a good source. Two-thirds of a cup (100 grams) of canned baked beans with pork contains 1.5 milligrams, for a DV of 13.6%.

Hearty and filling, our meatless recipe for slow cooker baked beans recipe will surely be a crowd-pleaser.
Beef Chuck
Another significant source is beef chuck. Serving three braised ounces provides 7 milligrams for a 63.6% DV.

Here’s a rich and satisfying dish: our flavor-packed one-pot beef stew.
With tender pieces of chunk mixed with a medley of veggies, it’s a delicious way to build this vital trace mineral into your diet!
Beef Patty/Ground Beef
The lowly beef patty rises when we consider its significant zinc content. A broiled three-ounce portion of 93% lean ground beef contains 5.5 milligrams for a 50% DV.

Our recipe for spicy ground beef lettuce wraps is a fresh and nutritious dinner, a low-carb choice using lettuce as the base for a marinated ground beef filling packed with exciting ingredients like ginger, garlic, peanuts, and chili.
Cashews
The next time you need something to nibble, consider cashews.
Nuts are excellent for snacking. A one-ounce serving of dry-roasted cashews is a good source at 1.6 milligrams for a DV of 14.5%.

They’re also delicious in vegan-friendly dishes like roasted broccoli soup, made with a creamy base of pureed cashews.
Chicken (Dark Meat)
Another significant source is one cup of dark meat roasted chicken, for 3.0 milligrams with a DV of 27.3%.

This recipe for skillet chicken thighs with lemon slices, oregano, garlic, and white wine is a flavorful way to serve a nutritious dose.
Chickpeas
Two-thirds of a cup (100 grams) of cooked chickpeas, also known as garbanzo beans, is a good source at 1.5 milligrams for a DV of 13.6%.
And what better way is there to enjoy chickpeas than in hummus?
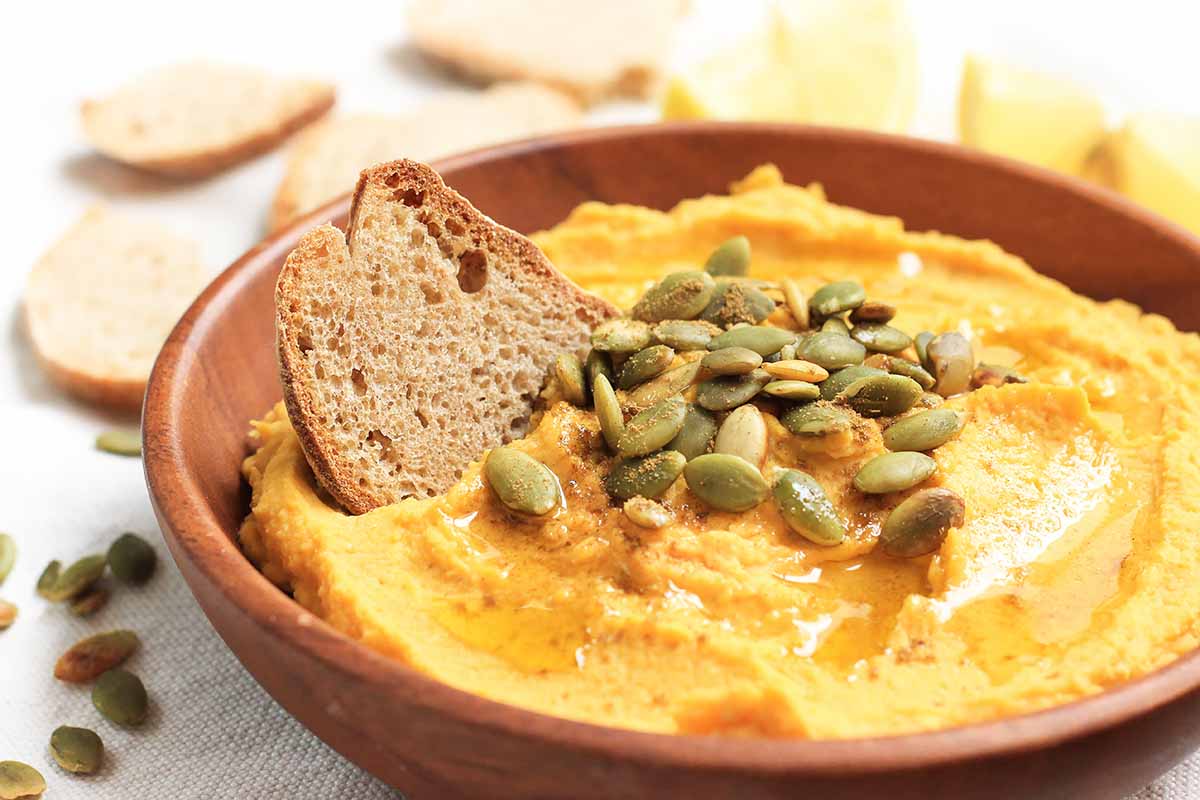
With 5 gourmet hummus variations that you can make at home, you’ll have a new favorite.
If you’re a pumpkin fan, try our recipe for pumpkin hummus with toasted pepitas on top. The unsalted seeds are another good source of zinc. One unsalted ounce contains 2.2 milligrams for a significant DV of 20%.
Chickpeas also make a tasty, crunchy snack! Try our oven-roasted spicy and smoky chickpeas!
Fortified Breakfast Cereal
When buying breakfast cereal, check the side of the box for a listing of nutrients. Fortified cereals are an excellent source of zinc. One cup of Cheerios contains 3.8 milligrams for a significant DV of 34.5%.
Are you looking for new ways to get your day off to a great start?
Our guide to breakfast basics for busy days offers valuable information for turning the most hectic meal of the day into the most enjoyable.
Lobster
Lobster is a rare treat at my house, but considering its nutritional value, I might have to justify the expense as an investment in good health.
Three ounces of cooked lobster meat contains 3.4 milligrams for a significant 30.9% DV.

Discover four delicious ways to cook lobster, and treat yourself as often as the budget allows.
A recipe I think you’ll like is grilled lobster tails with herbed butter and baby potatoes.
Why not fire up the gas or charcoal grill tonight?
Oysters
Oysters are the number one dietary source of zinc. Six medium raw Eastern oysters provide 33 milligrams for a hugely significant 300% DV. Cooked Pacific oysters have 28.2 milligrams and a significant DV of 256.4%
I recommend our guide on great techniques for cooking different varieties of shellfish.
Pork Chops
If pork is a hit with your family, you’ll appreciate knowing that a three-ounce loin chop has 2.2 milligrams for a significant DV of 20%.
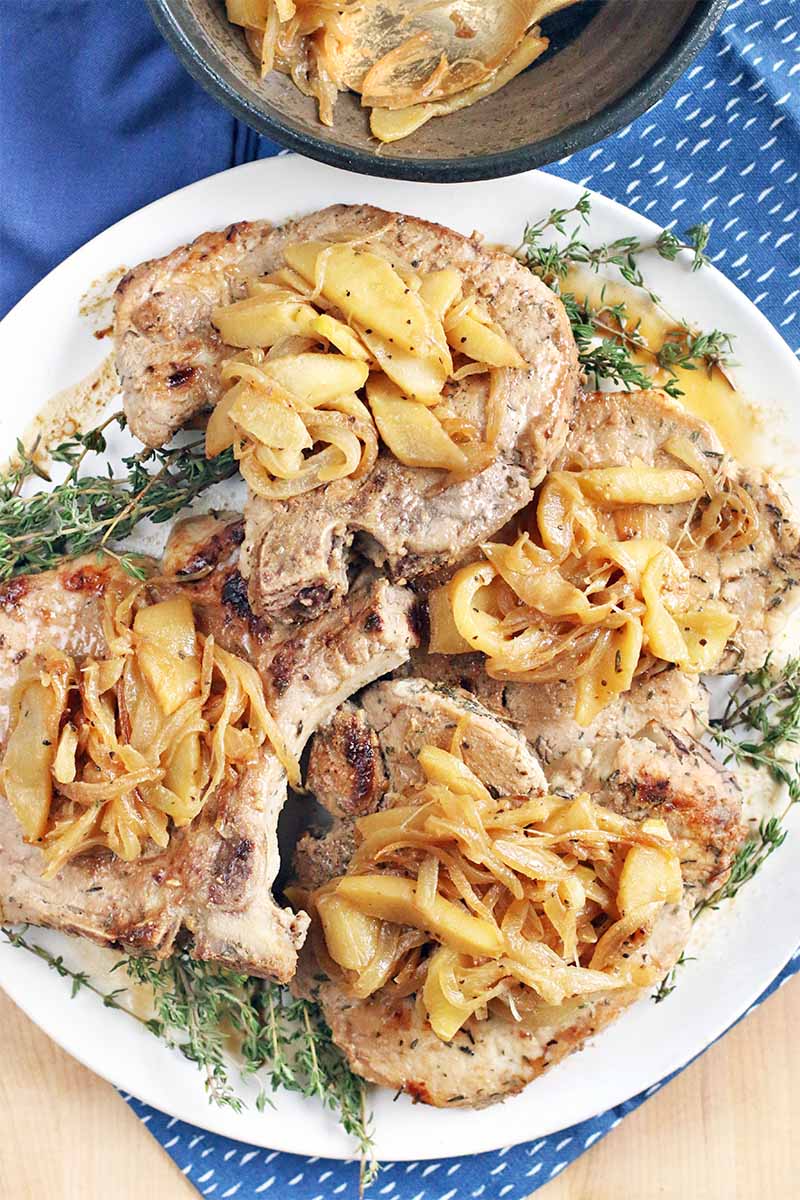
Our guide to roasting times for various types of meat has everything you need to know to roast a pork loin to mouth-watering perfection.
A fall favorite, make our pork chops marinated in apple cider. Serve them with caramelized apples and onions on the side!
Yogurt
Yogurt is not only a great snack on the go; six ounces of the plain low-fat variety contain 1.5 milligrams for a good source of 13.6% DV.

We have a super recipe for using unsweetened Greek yogurt that you’ll love. The ultimate fruit salad yogurt parfait works well with frozen yogurt for a delicious cool-down.
Or, try our recipe for frozen yogurt popsicles with oats and blueberry jam for a chilled-out and nutritious breakfast.
Restoring Balance
While seeking information, I contacted Ryan Whitcomb, RD, CDN, CLT. He said, “… there are many negative side effects from not having enough zinc, which really highlights the importance nutrition plays in our everyday lives. Nutrition should never be underestimated!”
For those with autoimmune diseases, it’s not just a matter of taking a dose of zinc and calling it a day. We who suffer have a “leaky gut,” and we need help to keep our nutrients inside and on the job.
Whitcomb recommended the following to aid in the absorption of essential nutrients, including zinc:
- Consume colonic foods like green tea and dark chocolate to promote beneficial bacterial growth
- Rebalance external stressors with adequate sleep and relaxation techniques like yoga and meditation
- Remove allergens/sensitive foods from the diet
- Replace missing digestive enzymes
- Address and remedy nutrient deficiencies
- Restore microbiota with pre- and probiotics
Promoting a healthy gut equipped to receive and absorb nutrients is the way to go!
Eat a Variety of Foods
Trace minerals like zinc play a vital role in our bodies at the cellular level.
For most, a balanced diet provides such micronutrients effortlessly. For others, like those on severely restricted diets, maintaining healthy levels is a critical challenge that’s sometimes compounded by absorption issues.
Enjoy a varied diet consisting of nutritious fruits, vegetables, and proteins. Consuming foods rich in nutrients provides the fuel to face each day with strength and vigor.
For more information on the sources and benefits of zinc in a healthy diet, or if you are experiencing symptoms of zinc deficiency, consult a physician or registered dietician. Please do not supplement or change your diet without the advice of a health professional.
Do zinc-rich foods make up an adequate part of your diet? How do you incorporate healthy eating into your busy day? We’d love to read your tips in the comments below.
If you found this article helpful, we recommend the following guides to healthy eating:
- Build Healthy Work-from-Home Lunches
- How to Stock a Healthy Pantry
- Why You May Feel Better on a Low FODMAP Diet
Photos by Fanny Slater, Felicia Lim, Meghan Yager, and Kendall Vanderslice. Uncredited photos: Shutterstock. Originally published on January 11th, 2017. Last updated December 30, 2023.
The staff at Foodal are not medical professionals and this article should not be construed as medical advice. Foodal and Ask the Experts, LLC assume no liability for the use or misuse of the material presented above. Always consult with a medical professional before changing your diet, or using supplements or manufactured or natural medications.
About Nan Schiller
Nan Schiller is a writer from southeastern Pennsylvania. When she’s not in the garden, she’s in the kitchen preparing imaginative gluten- and dairy-free meals. With a background in business, writing, editing, and photography, Nan writes humorous and informative articles on gardening, food, parenting, and real estate topics. Having celiac disease has only served to inspire her to continue to explore creative ways to provide her family with nutritious locally-sourced food.


Thanks Nan for a nicely done article! Zinc deficiency may also increase risk of copper toxicity- which may result in fibromyalgia symptoms! It’s all so interesting!
Hi Jan –
Thanks again for sharing your knowledge of zinc’s role in a healthy diet, so I could bring this information to our Foodal readers.
Regards,
Nan Schiller
I was 22 when I had a Copper IUD placed. My body hated it from day one. I was also Dx with FMS that year. Instant relief when it was removed. What if all my problems since I was 22 were caused by a mineral deficiency of zinc? This might help my clients as well. 18 years of my life could have been completely different. :/
Brandy.
I have had the copper IUD in place for 6 weeks and I don’t feel well.
How long did you have yours?
I’m scheduled to go see my GYN for a pap/routine tomorrow and I’m considering removal.
I’m just scared.
Hi
I personally have a problem concerning wounds delaying to heal and sometimes they tend to reoccur
Can that be a zinc deficiency issue?
And if yes can I proceed to consume zinc supplements?
Wow, this is very interesting. I have a lot of chronic illness issues, one being celiac. I have been trying to stay off TPN after over 4 years of being on it. One thing they checked with my labs was trace minerals. Well, I never thought of continuing to check. I have been seeing a chiropractor who does nutrition response testing and last night he put me on it. I am very interested to see how much it helps. Especially because I have had a hole in my intestine, which still leaks some onto my skin, where a feeding tube was. I’ve dealt with it for several months, because I am too scared to have surgery. Very much hoping this will be what allows it to finally heal.
What about zinc supplement to start treating zinc deficiency when you see white spots on the nail?
White spots like you describe may be related to a zinc or calcium deficiency, but there are other potential causes as well. We are not medical professionals and we recommend consulting with your doctor or health care practitioner if you have concerns or intend to take supplements.
I am rapidly losing my hair. It’s really caused me to become a shut-in. I feel it’s not due to having Alopecia. I do have Graves Disease and am now being treated for it but I’m still losing my hair. I’m not losing it in patches but the hair is thinning rapidly. I wish I would find a way to regrow my hair. I’ve tried so many things..recently taking a multi-vitamin with Zinc. This is really taking a toll on my life. 🙁
Hello,
I’ve had the same issue as you. Unfortunately I experienced rapidly thinning hair after having a full head of bleach for the first time in my life (I was 39).This turned out to be a red herring as I was convinced this is why my hair was coming out like cotton wool and only recently started to have blood tests 18 months later. I’ve now found out that my zinc levels were extremely low at 8 and the lowest end of the range is 13. My ferritin levels were also on the lower end of the range. You have my deepest sympathies as this is such a soul destroying and upsetting situation to be in. I now take a daily liquid iron sachet with orange juice and zinc picolinate 22mg to get my levels back to a healthy level and I can safely say that my hair is starting to return to its original state. Let me know and I’ll advise if I can x
How long did it take before the hairloss stopped. My hairloss is just not stopping since a food poisoning I got and my gut is not in percect shape. Multiple food alergies whoch never existed before bug. Have been taking multivitamins but no relief even after 8 months.My ferritin,D3 were very low. Have taken iron infusions before which did not help much but the last one doc gave was a 1000mg IV and the tests 3 months later suggested the levels were holding up in normal range
How are your results now taking the zinc and iron?
Same here with zinc deficiency. My GP didn’t listen back in 2007 and I didn’t get a blood test until I insisted in 2018. I’m now taking 75mg zinc picolinate daily. Every so often I get an upset tummy due to taking too much. My zinc levels rise and fall, my hair sheds according to my zinc level and I’m not getting any help from my GP to find the correct dose to keep my level at a steady 15 which seems to be the best for my hair.
Have you recently gone through a severe illness, extreme stress, rapid weight loss, divorce? Stress can cause hair loss for 6 mos. Half of the hair follicles are in a growth cycle, while half are dormant. The half that are dormant or the other way around, during extreme stress will be affected & fall out. At 6 mos. after losing hair, it will stop.
It’s happened twice to me. A doctor explained this when I was in tears.
Sorry to hear your problems. I would recommend you take some good supplements, I tried Wellmans Plus, my sex drive has returned and my erections are now much stronger.
5 days of usage did the trick.
For hair thinning it may be worth checking for Under active Thyroid. It may be accompanied by unexplained weight gain.
I’m shocked and extremely upset!! I had gastric bypass in 2002.by 2005 I had my back 6 upper and lower teeth route canals.by 2011 my teeth failed and bottom denture was needed. I was diagnosed with fibromyalgia in 1996. Started treatment with a fibromyalgia doctor in2003 which started every month prolotherapy and pain medication and depression medication started . It wasn’t until about 2014 I dropped A good amount of weight,hair falling out,nausea, balance got so bad people in the drs office called the police because they thought I was drunk! I was getting weak I couldn’t hold the pen to write or feel the bottom of my feet to know if I was pushing the gas or the brake pedal. No more driving. Memory is getting spotty. I had no idea what was going on with me. I went to so many specialists. Neurologists,Endrocrine ,rheumatologist doctor etc. no one could figure out what was wrong with me. I’m slipping away. I had temporal wasting.hard time with my sight which I always had 20/20 vision. It took the doctors to see issues with my gait balance weight and hair to take notice. I was diagnosed with hosimotos disease and put in the hospital for a Wk having every test imaginable done. To ultimately find that I was copper deficient and had to get copper infusions in the hospital. The myelin is gone from my spine because of the copper and I’m disabled permanently now at 46.i was told from the 3rd neurologist that all of my issues were from denture cream.i lost my teeth from the vomiting and vitamins not be absorbed from the gastric surgery . I had worked my whole life at least 1/2jobs and now I’m dependent on others to live everyday… the denture cream did this to me. I fell broke my pelvis last year and I ended up in a rehab where I was being abused and ended up with a huge sore on my heel from my feet being dragged across the rug because there were no foot rests on the wheelchair. I almost died from malnutrition and I had such a bad infection I went septic. I lost a yr of my life from a broken pelvis to getting infection septic. I was wasting away. I had to relearn how to stand up to try to get out of bed I lost it all.. I had every single 17 things that go wrong from zinc/copper deficiency and more. I now sit at 46 disabled and dependent on others to live. DENTURE CREAM POISIONING!!!! I’m sorry this is so long but I’m hoping someone will read this and help connect the dots if they are experiencing any of the symptoms related to zinc/copper deficiency from DENTURE CREAM!!!! There’s NO WARNINGS AT ALL!!! Doctors couldn’t figure it out until it was too late for me..
I hope this helps someone….
Andrea.
I have some of the symptoms that you described. What exact blood tests should I request at the doctor?
Your story could help me.
Thank you.
What denture cream? There’s many kinds !
Thank you for your story. I am so very sorry for you words can not explain. I appreciate you wanting to help others. I thank God that the doctors finally figured it out. I pray that God is able to heal your heart after all you have been through. ????????
Wow! God bless you, Andrea. I am so sorry you have experienced so much suffering. I completely understand your anger. It sounds like you deserve atonement and recompense, from doctors to dentists to rehab facility, but DEFINITELY from the makers of that specific denture cream you used. Our “healthcare” system is nothing more than a glorified corporate business, and it is absolutely amazing these companies are free to destroy human lives without any government oversight or fear of repercussion. You truly have my condolences.
Hi. Thanks for sharing knowledge of zinc’s role in a healthy diet.
I also have a low zinc in the body