
It’s time to try something new – dip into a fresh mix of homemade hummus recipes!
Instead of serving yet another bowl of plain, store-bought hummus at yet another party, change things up for your friends and family with these exciting variations on the classic.
And we have one for each day of the week!
For those of you who love this amazing dip – and I know there are many of you! – consider exploring our homemade options, and expanding your horizons to try different flavors and unique ingredient combinations.

Packed with protein and fiber, thanks to the chickpeas that serve as the base, hummus is a healthy menu option, and it’s a hearty base for dipping and snacking, spreading on toast, or slathering on a vegetarian sandwich.
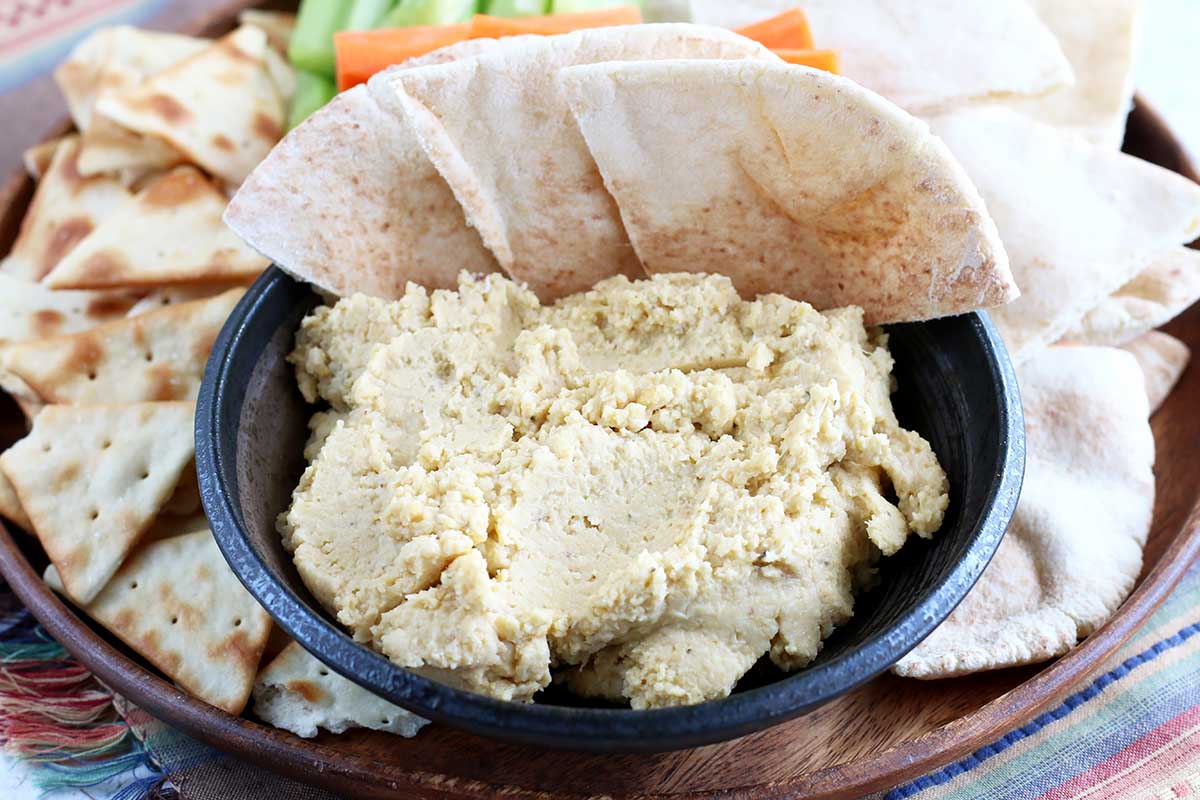
If you’re having a gathering, set up an appetizer bar for sampling, with sliced veggies, homemade pita bread, and tortilla chips. It’s fun to serve a variety of recipes to taste and compare.
Continue reading for our top seven favorites, selections from yours truly at Foodal!
7 Gourmet Hummus Recipes
1. Baba Ghanoush
What a tasty start to our roundup!
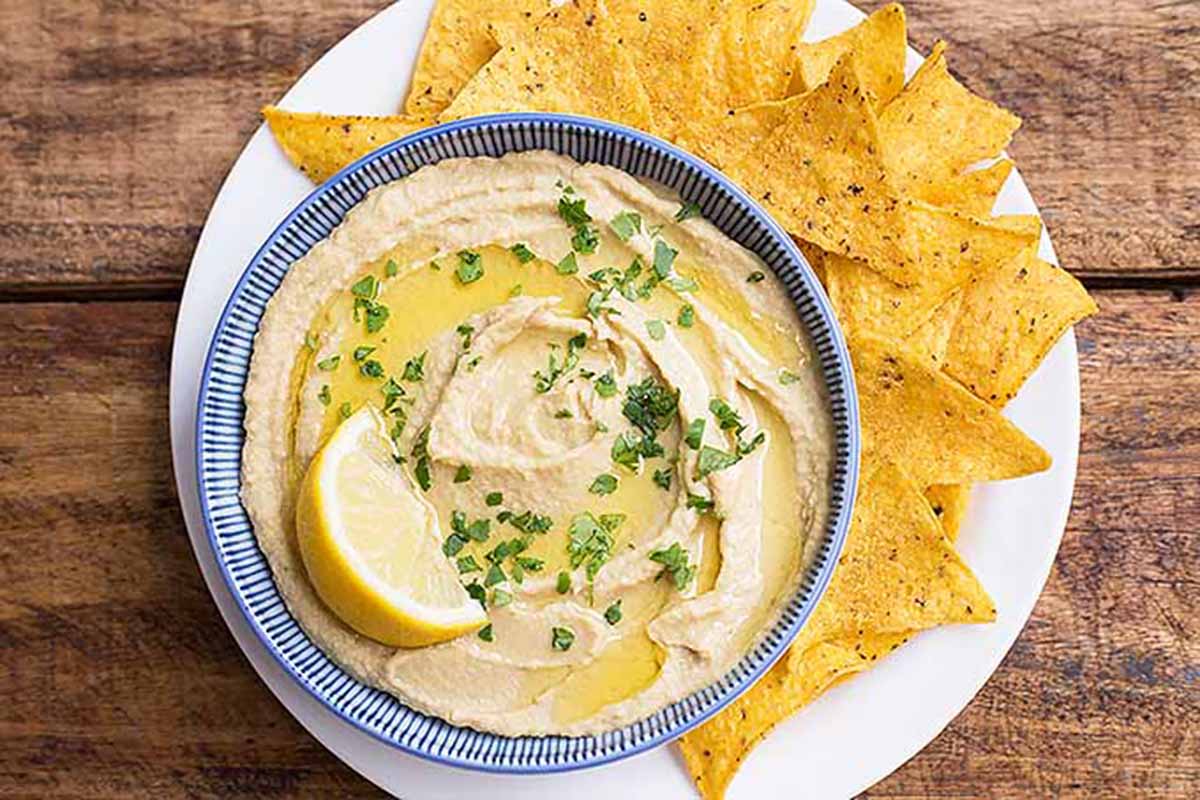
If you love hummus, you are going to love this baba ghanoush version.
It’s a smooth and creamy eggplant dip that has the classic flavors that keep you coming back to this dip again and again, combined with roasted eggplant, garlic, and smoked paprika.
It’s perfect for dipping, and the rich roasted eggplant flavor comes through in every single bite.
2. Dark Chocolate
For a surprisingly sweet twist to pair with fresh berries and other fruits like apples or bananas, serve up this decadent dark chocolate selection.
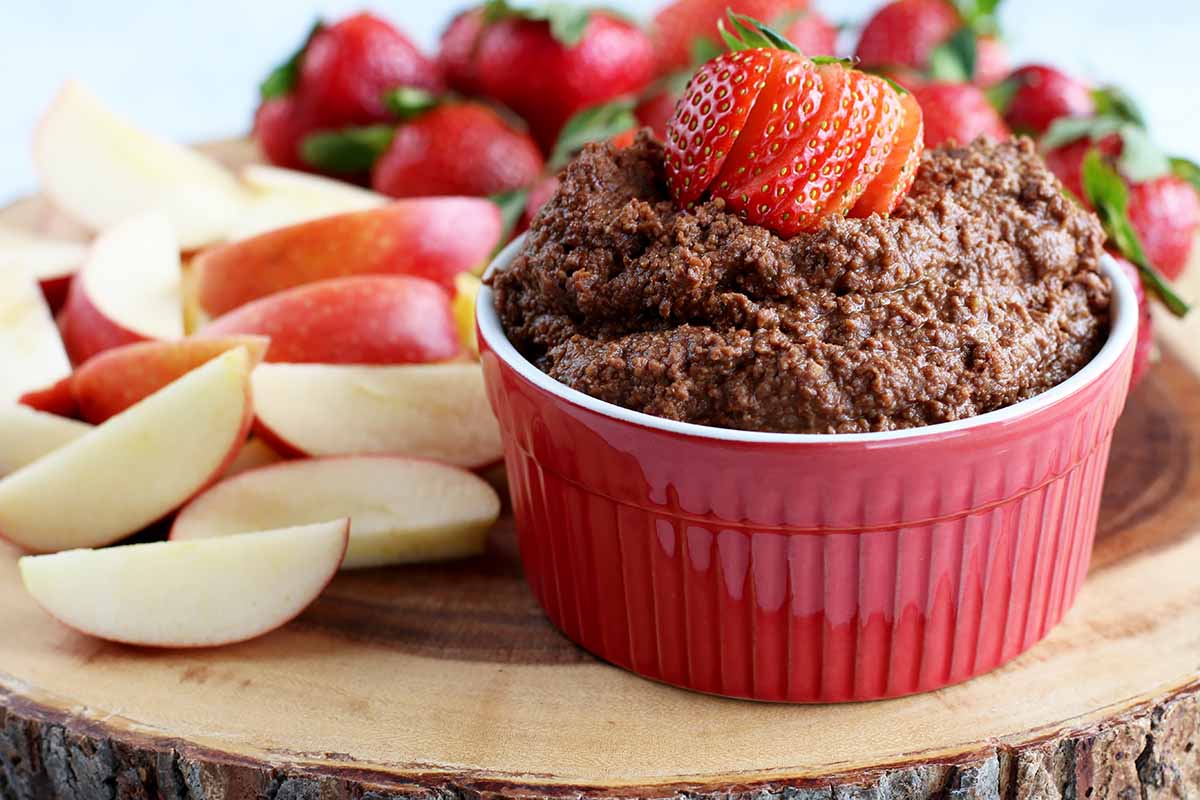
I was hesitant myself before I tried this version for the first time, but now I’m hooked! I love snacking on this version with homemade graham crackers and fresh strawberries.
If you’re serving this at a party, top it with some dark chocolate or white chocolate shavings for a pretty presentation.
It’s also delicious spread on toast as a nut-free alternative to chocolate hazelnut spread.
Interested in this unique version? Here’s the recipe.
3. Kale Basil
Don’t let the green color of this kale basil dip discourage you – this healthy take isn’t just a pile of rabbit food!
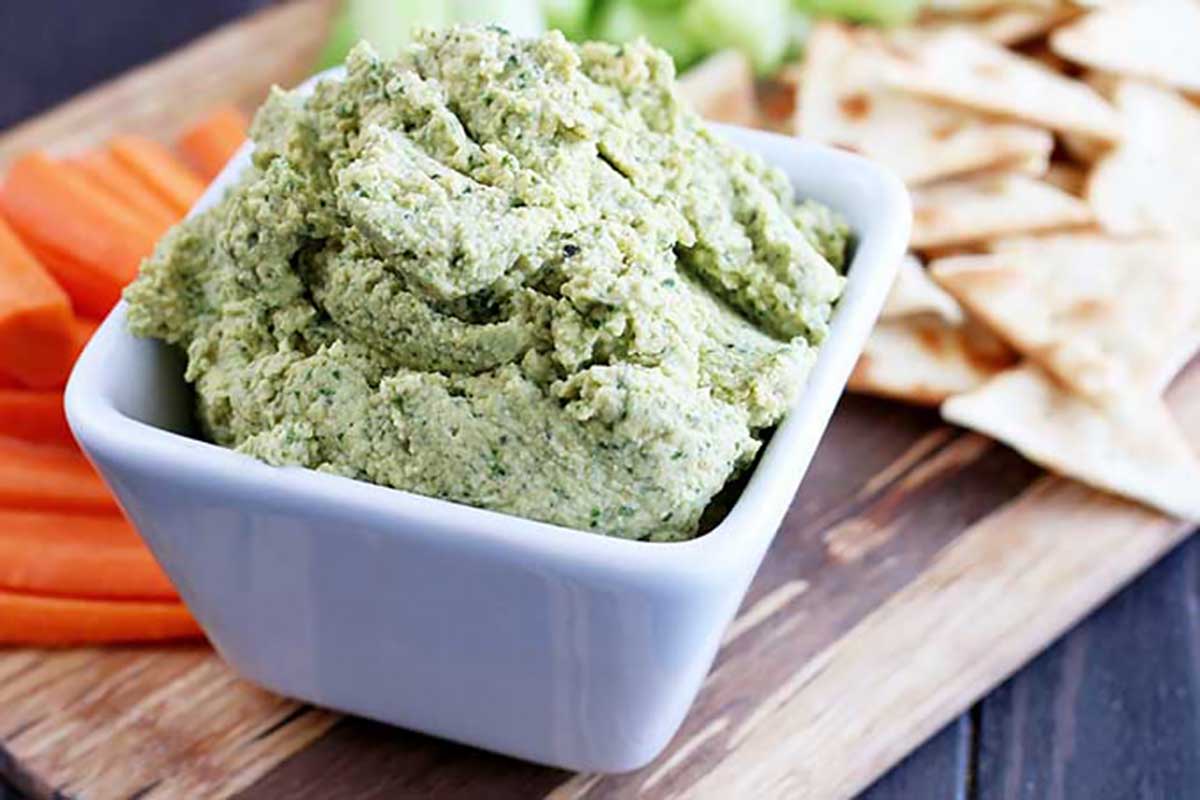
It’s an herbaceous explosion of flavor, enhanced by nutrient-packed kale.
Thanks to the leafy greens and fresh herbs, you get a bright green color that stands out among the usual crudite and cracker dippers.
And once you dig right in, you can’t help but feel good about snacking away, knowing that you are getting some fresh vegetables into your body.
Play with the variety of basil you use in this recipe – whether you buy from a farmers market or grow herbs in your own backyard garden, there are many varieties to try.
Feeling green? Make the recipe soon.
4. Pumpkin
Surprise, surprise – pumpkin isn’t just for pies and lattes!
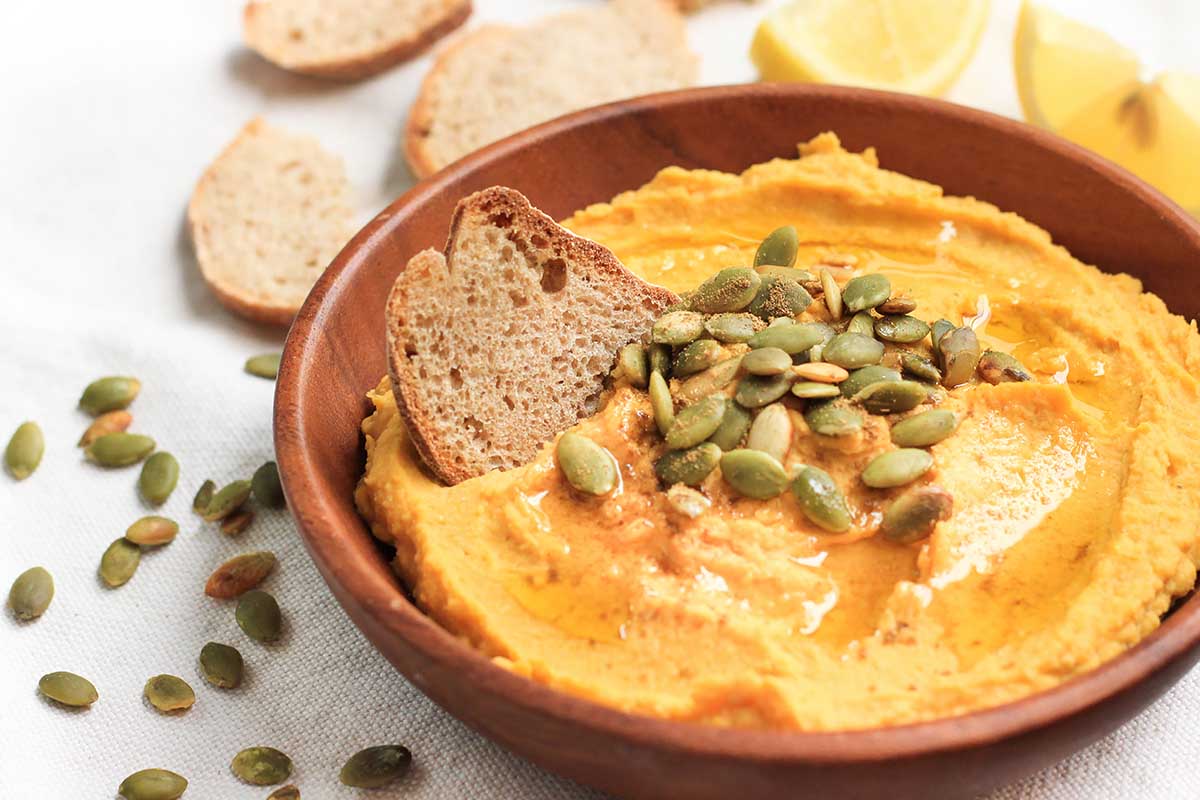
Winter squash enriches this dip with a sweet and savory roasted flavor that you’ll love to serve as soon as the leaves begin to change in the fall, or whenever pumpkin is available.
Try butternut, acorn, or kabocha squash instead, for something a little different.
And learn how to puree squash from scratch by following our tutorial for making pumpkin puree, as well as our advice on making any winter squash puree in general.
5. Roasted Garlic
Roasted garlic makes everything better, and this roasted garlic version proves exactly that!
The rich and powerful flavor, not to mention the delicious scent that fills your home from homemade roasted garlic, is mouthwateringly memorable.
It’s an easy, and approachable, way to update the classic spread.
6. Spicy Cilantro Jalapeno
This spicy cilantro jalapeno variation is the best option for those who love heat!
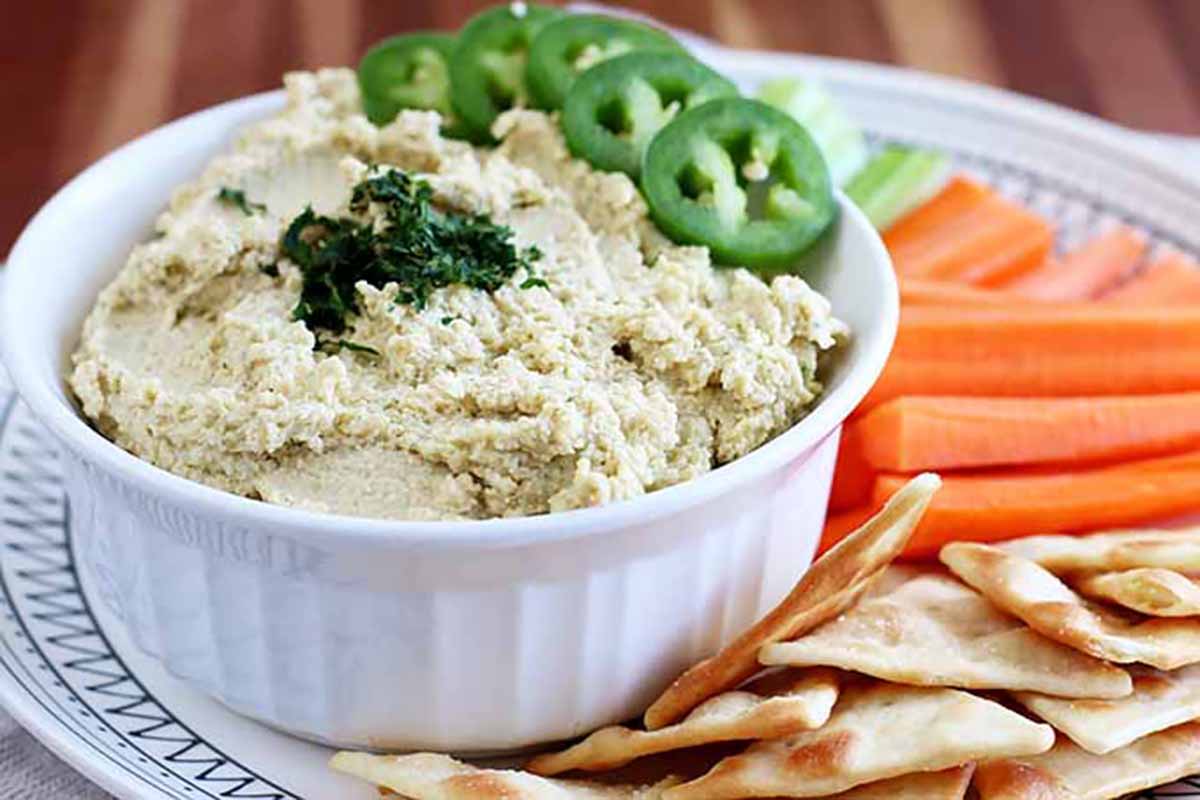
At my house, we love pairing this choice with our favorite Mexican and Tex-Mex entrees.
Try it spread inside your favorite tacos, or on top of nachos. It’s a big hit whenever we include it as a thick layer in our garlic ginger veggie tacos, or on our chipotle mushroom nachos.
Of course, it’s also great served with chips or crackers, as well!
7. Sun-Dried Tomato
If you want to serve up an epic antipasti platter, consider adding sun-dried tomato chickpea dip to the mix.

The tangy and savory flavors are well-balanced, making it a great pairing with cheese and meat, like on a charcuterie board for a big party.
If you have some homemade sun-dried tomatoes that you made in your food dehydrator or in the oven, you can definitely use those. Just be sure to soak them in water or oil for a few hours first.
And if you have Greek olives taking up room in your fridge, you can also throw a few of those into the mix. They’ll be delicious with this combination.
Time to Get Dipping
Now that we’ve given you all of our favorite options to start your hummus adventure, it’s up to you to decide which one to indulge in first.
Whether you’re looking for something savory or sweet, spicy or mild, or a combination of everything, you have all of the recipes at your disposal right here in this delightful roundup.
And if you’re craving chickpea dip and don’t want to limit yourself to making just one, think about hosting a hummus party for your next gathering!
Make each of the flavors, and serve them up with everything you’ll need for dipping – different varieties of breads and chips, fresh fruit and cut vegetables, and even sweet drop biscuits or cookies!
Include roasted olives, pickles, nuts, marshmallows, and other goodies that pair well with your chosen flavor profile. You’ll have an incredibly varied grazing centerpiece that everyone will be crowding around in pure excitement.
Feeling inspired to take your bean-based snacking to new heights? Tell us which recipe you’re going to try first in the comments below, and share your suggestions to put a new spin on our favorites.
If hummus alone isn’t enough to quell your chickpea craving, we have many more garbanzo bean recipes to make! Check out three now:
Photos by Felicia Lim and Meghan Yager, © Ask the Experts, LLC. ALL RIGHTS RESERVED. See our TOS for more details. Originally published on January 15th, 2016. With additional writing and editing by Allison Sidhu and Nikki Cervone. Last updated on February 10, 2024.
About Sarah Hagstrom
Sarah is a health food advocate and loves to spend her time whipping up something healthy and delicious in the kitchen and then sharing either on Foodal or on her own blog "The Seasonal Diet" (www.theseasonaldiet.com). She lives in Sunny San Diego with her husband, where they enjoy running on the beach and weekend adventures.


YES! You don’t know how glad I am to see this! I like hummus in general but the amount of garlic in most of the store-bought stuff is just something I’d rather not have.
*SO* I’m extra glad to see these kale and chocolate recipes. I will be trying both. I’ve been trying to incorporate more kale into our diet and this will be a great way to do that *without* overpowering garlic. Thank you!
And chocolate hummus?! Heart be still… I’ve never met chocolate *anything* that I haven’t liked, so this will be totally fun to try. 🙂
Hey Kate! You can always leave out the garlic or adjust the amount to your liking. And I’m with you on the chocolate, I love it all.
I have tried hummus several times and haven’t found one i could fall in love with. These are some great variations and will try them. I will post results as I go along.
I’m glad to hear, you’ll give these a try. I have a friend who doesn’t like hummus, we found out it was the tahini. Maybe try experimenting with and without tahini and see if that helps.
I love hummus and have made it several times myself. I don’t like the store bought ones so I have always made my own, but only the traditional one. These recipes give me some good ideas for other varieties and I will definitely try the spicy kind. I never thought of this as a sweet dip, but the one with chocolate really appeals to me. I never knew the tip about aging for a few days in the fridge, I’ll try that out.
I absolutely love hummus. I prefer making my own over the store bought brands too, but occasionally if I see a great sale on some store bought brands, I’ll buy it then. Other than that, I feel it’s cheaper to make my own and the flavors are incredible. I’ve tried many of these variations, except for the sweet dip. I’ve never even thought about using chocolate in a batch before. I’m really interested in trying it.
I’m glad that you wrote this. I need to try this at home. It’s so expensive in the store, but my wife loves it.
I agree, making it yourself is a great way to save money!
The traditional version looks so tasty. I think it contains more nutrients that any other variety – at least that what the ingredients seem to indicate.
I have to admit that the dark chocolate recipe really caught me off gaurd. I’m used to eating the savory and spicy versions. I’ll often eat it with pita chips. I’m glad this is a type of snack I won’t have to feel bad about eating. Actually by eating hummus was how I was introduced to chickpeas.
I know, the chocolate seems strange but trust me, if you like chocolate you’ll enjoy this!
Thank you so much for this post. I have been working hard to create more at home recipes when it comes to things that I usually store buy, Hummus being a big one! I am going to try out a recipe tomorrow, I’ll let you know the outcome!
I first tried hummus in a Greek restaurant many moons ago. I have liked it ever since. I will definitely give some of these recipes a try. Maybe not the chocolate one, but the others yes!! 🙂
I only get to eat this dish when I find myself dining at Middle Eastern restaurants. They’re not too plenty where I’m from. Naturally, hummus isn’t very popular here. I often wonder what it’s made. Now – I KNOW. I’d like to try this one. I’ll have to google what ‘tahini’ is first, though. I don’t think I’ve heard of it before. All the recipes shown here are things I would totally enjoy. BIG SURPRISE on the CHOCOLATE variety! Obviously, I’m a chocolate lover, but it had never occurred to me that you can possibly make this with chocolate flavoring. SUPER LOVE the IDEA!
Oh yes, Tahini, I had to look it up in the past. However, it’s now a staple in my cooking. I’ll have to write a post for our site. Tahini is ground up sesame paste, you can find it at Middle Eastern stores or now, at most health food stores. I hope you’ll try your hand at this delicious dip!
Yeah, that’s something that’s not readily available here, so it put a hitch in my plans. I guess I’ll have to order some online, because I want to make some of these.
I think I will probably skip the sweet one. I don’t need any more ways to eat chocolate, ha ha. It does sound like a great way to get others to try something healthy though. I bet it works great for getting kids to eat better snacks. I’ll have to make that one for the grandkids.
I absolutely love hummus, I have since a very young age. I was the weird kid on the block sharing my friend’s sushi at lunch, when the other kids wouldn’t touch the stuff, so I’ve always had a taste for the exotic. I’ve found the best hummus for me is the plain stuff, on a pita, but in all honestly I don’t mind varieties with heaps of garlic either. I had never considered to go the sweet route with hummus, chocolate is certainly one of the more unique ingredients I’ve seen go into it. But I guess I wouldn’t mind trying it at least once.
I need to start off by saying THANK YOU! I didn’t realize how easy this is to make. Not to mention, I had no idea just how healthy it actually was. I am the only one in my home that eats it, but my mom and sisters eat it. I will definitely be making some and passing along the recipe. Thank you again!
Ever since I was five year old, and I tried my first piece of traditional Scottish Hummus, I waged a vendetta against this pasty condiment (for good reason). I haven’t been able to comprehend how somebody could eat this as part of their meal, or even worse, as a frequent snack – despite the pleas of my family members.
However, your blog has convinced me to try the food again, with many of the tasty additions you suggested. I just hope the Garlic isn’t too strong.
I have never made my own, but I should totally give it a try. Most of these would fit perfectly with my high protein, low carb, high fiber, eating plan. They sound tasty too.
I do have a question… a rather “delicate” one. Are chick peas a gassy food? Sorry, but yeah. Should I stock up on Beano before attempting these recipes?
I swear by spicy hummus, it makes a really great dip for so many things. Besides Jalapenos I’ve found that adding dried chilli flakes, hot sauce or even curry powder can really elevate the heat factor. Perhaps someday I might even try adding a little mustard to see how it goes.
Hummus is a staple condiment for our family. My toddler girls loooove humus!!! I have never tried to make my own, however, I am intrigued to try the Kale Hummus recipe. I use hummus in sandwiches, on rice cakes or even on toast for my toddlers for a quick on the go snack. Hummus is really versatile and I love that you have just added a few more ideas on great uses and recipes for Hummus.
I spend an absurd amount of money on hummus every week. Let’s just say one family sized tub of hummus does not cut it for my own personal hummus-y needs. I’ve tried once or twice to make hummus from the mix they sell in bulk at whole foods, but it’s not the same. I love the idea of making it at home, but I don’t have a food processor. However, I was recently gifted a blender with a lot of “oomph” as you put it, and want to use that until I invest in the food processor. I found the addition of a sweet hummus very intriguing… dark chocolate hummus?? Two of the best foods ever put into one? Yes, please!
Hi Sarah! Thanks for the Hummus recipes. I’m a total hummus lover and had only tried the traditional Hummus recipe. I actually didn’t know that hummus had such great variety. I had only seen the traditional and spicy versions, and had never even cooked Hummus at home. It was always store bought. You make cooking hummus at home sound so easy! I will definitely giving it a try. I’ll start with the traditional version, then onto the spicy and last the ever so intriguing chocolate version. Thanks again!
I’ve never heard of hummus. I’m not sure if it’s something I would try on my own. Maybe I’ll order it at a restaurant before trying it at home.
I eat a lot of hummus – even for breakfast sometimes, on granary toast, I find it keeps me fuller for longer than other breakfast foods. I have only tried to make my own once, without much success – it wasn’t so much the recipe that went wrong, but the blender that I used which couldn’t cope with the concentration of chick peas and consequently the motor burned out! I ended up with lumpy, chilli hummus which actually tasted okay but didn’t look so appetising!
The Spicy Jalapeno Hummus sounds amazing. Never tried it like that. I eat Hummus a lot and for any occasion. These recipes seem easy and delicious.
Hummus has got to be one of my favorite things. It tastes great and has completely replaced some condiments and all dips I have used in the past. I use it on chips, pita, veggies, and spread it on sandwiches. I really am a big fan of red roasted pepper hummus. The two flavors marry well together. I am really excited to try to sun dried tomato hummus recipe that is mentioned in the article. I think it would be a good flavor as well.
I’m currently watching my weight and have switched to my soup diet and I use hummus as my snack food. There are some great ideas of combinations here, and kale and basil is my favorite as I prefer a savory taste.
As a vegetarian I need protein and this is a good way to get it and on wholemeal crackers or wraps I know it’s healthy and helps with my fiber intake too.
Well I was really hoping that there was a spicy option, and sure enough it came through. I know that I do not really utilize hummus as much as I should, and I way too often resort to salsa when it comes to something to dip in, so this is a good article for me. I am not sure why I am this way, just force of habit I suppose. That said, though, you can expect some spicy hummus in the kitchen very soon. Thanks for sharing.
If you’re into spicy things, I would suggest trying to make your own sriracha hummus! I absolutely love both, so one day I decided to try the two combined! I will NOT go back to a plain version again. Also, spicy black bean variation is very good, and you can even find it in some grocery stores! I get mine from my local Shop and Stop. It’s a product that I always must carry in my fridge.
This is awesome! I didn’t realize that this would be so easy to make at home. I usually always get store bought which is pretty good but I bet this will be amazing.
I’m really intrigued by the chocolate stuff. I would kind of like to try it but don’t know if I’m quite willing to take the plunge and actually make it. I never thought of this as a sweet food but I’ll take you’re word for it that it’s good. Maybe I’ll get up the gumption to make some and find I actually love it. It would be a very healthy alternative to other sweets. It would make me feel like I wasn’t even eating dessert!