25 Homemade Holiday Candy Recipes That You Have to Try!

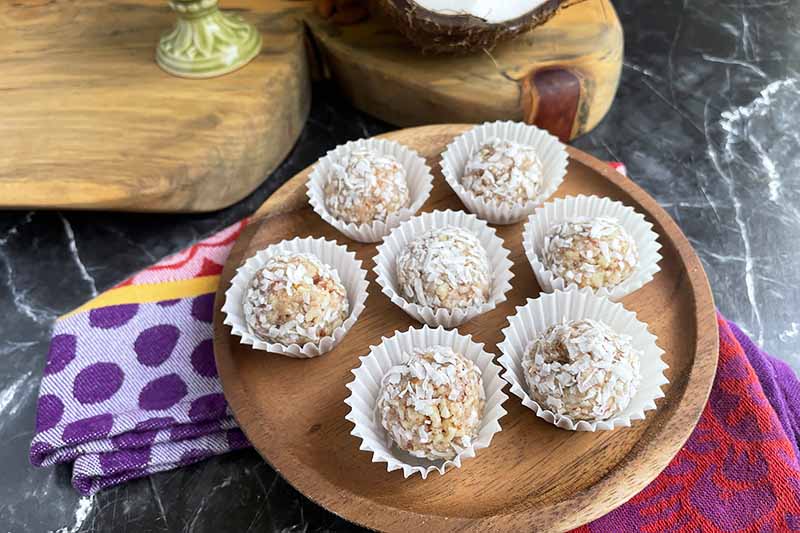
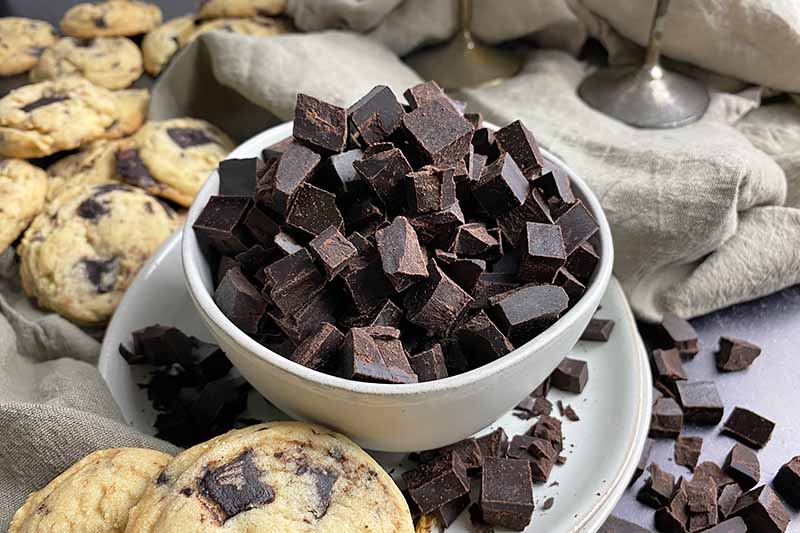
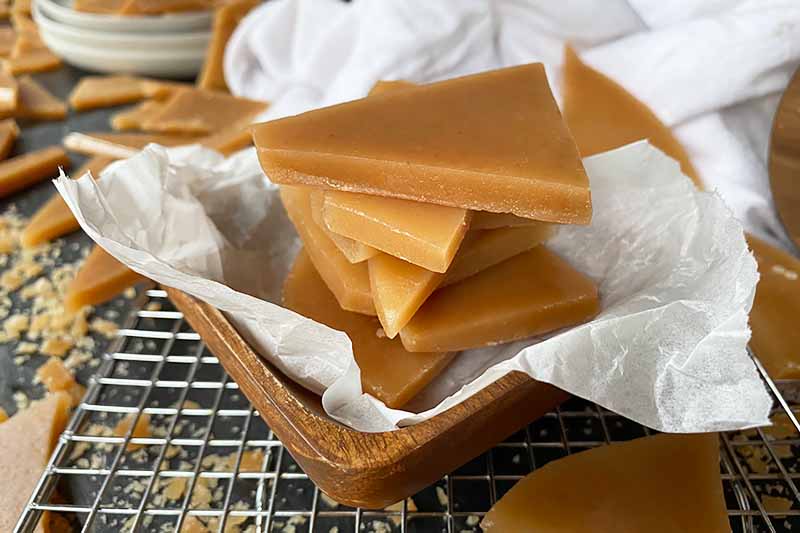
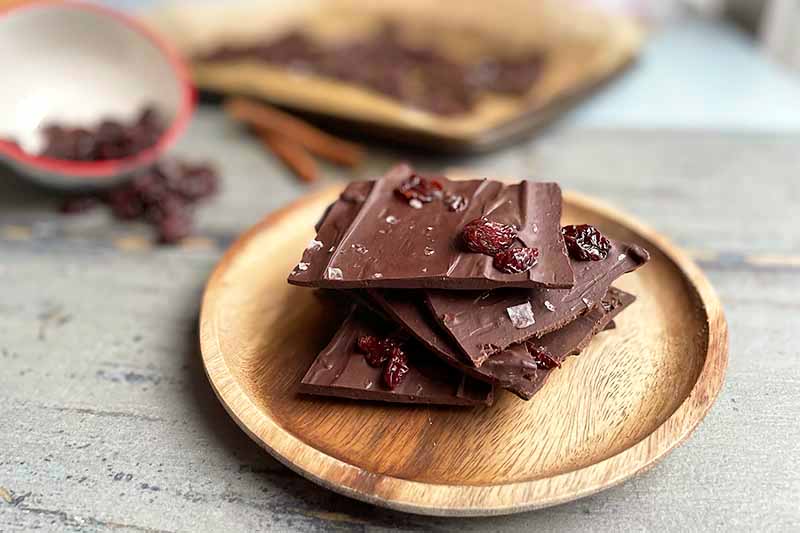
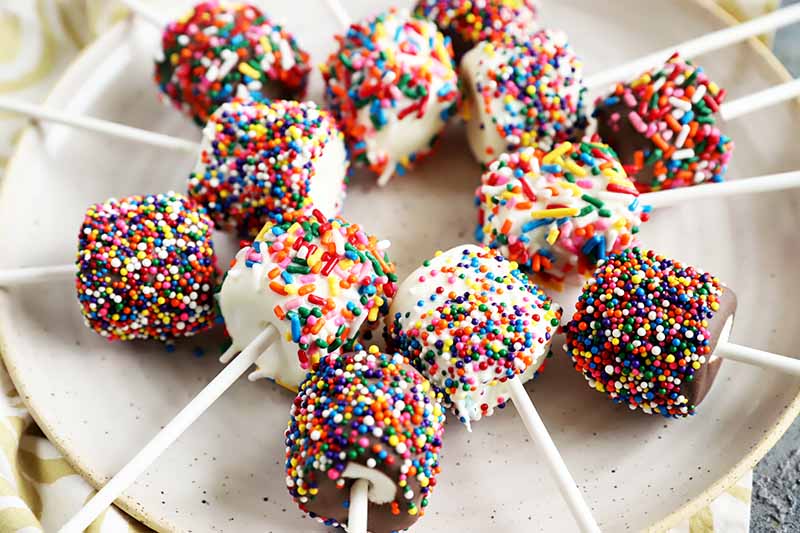
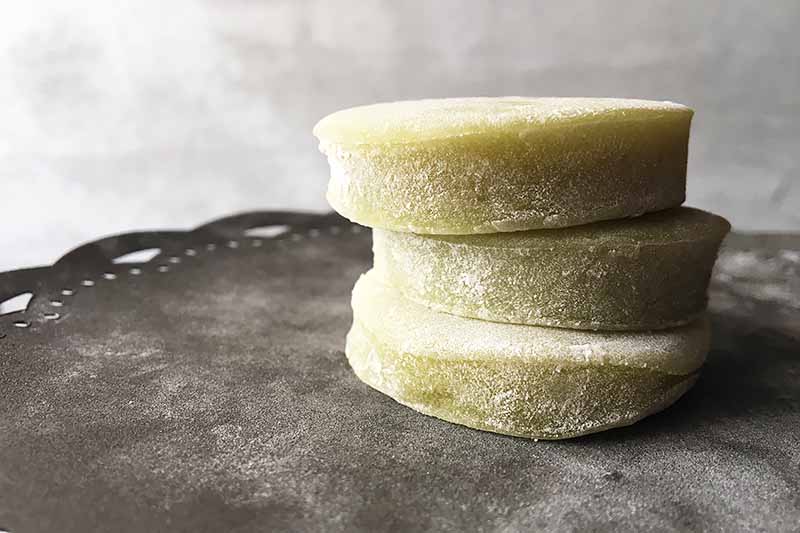
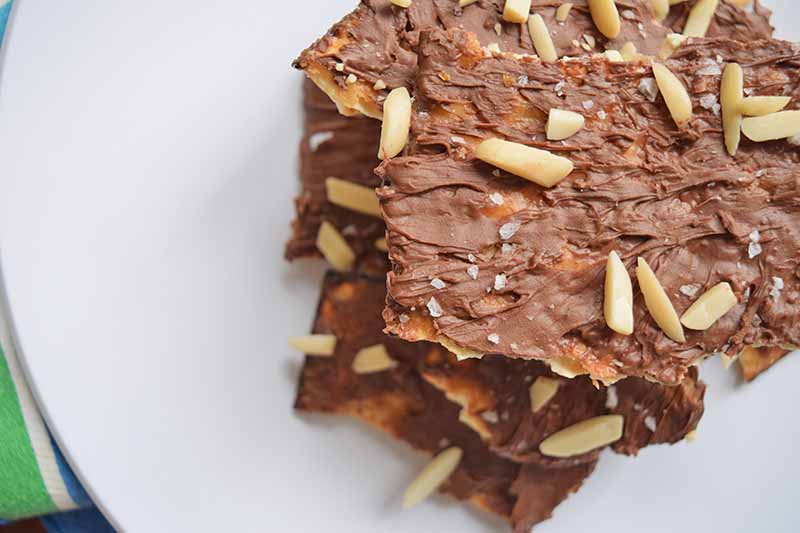
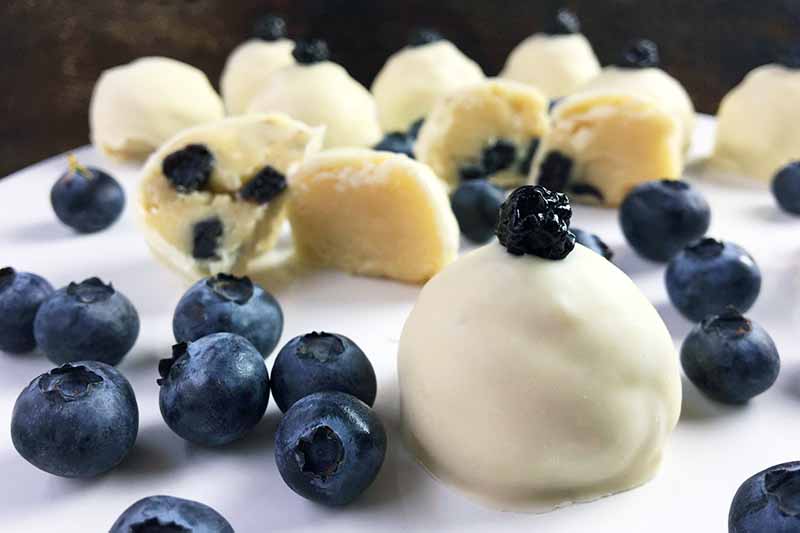
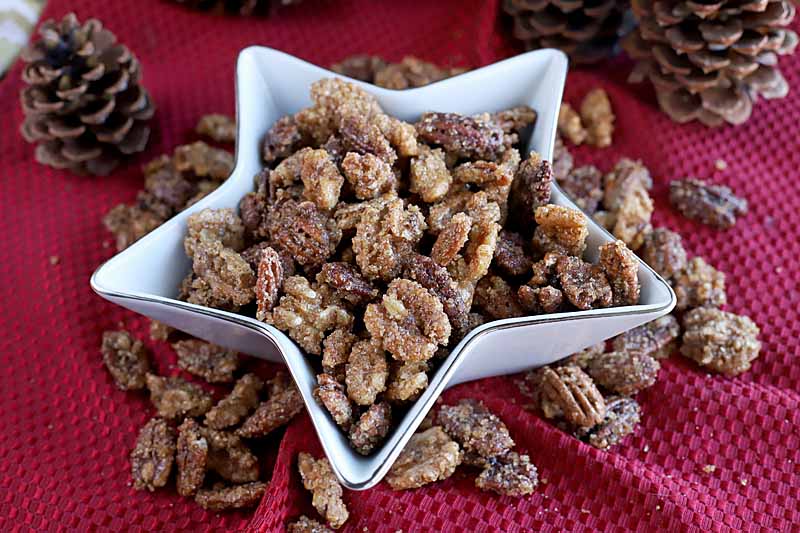
Making holiday candy for gift-giving and sharing at parties is a time-honored tradition. Add a few new delights to your roster from our roundup of the best candy recipes, from chocolate bark and truffles to marshmallow pops and caramels, toffee to candied citrus peel, and more. Discover our picks now on Foodal.