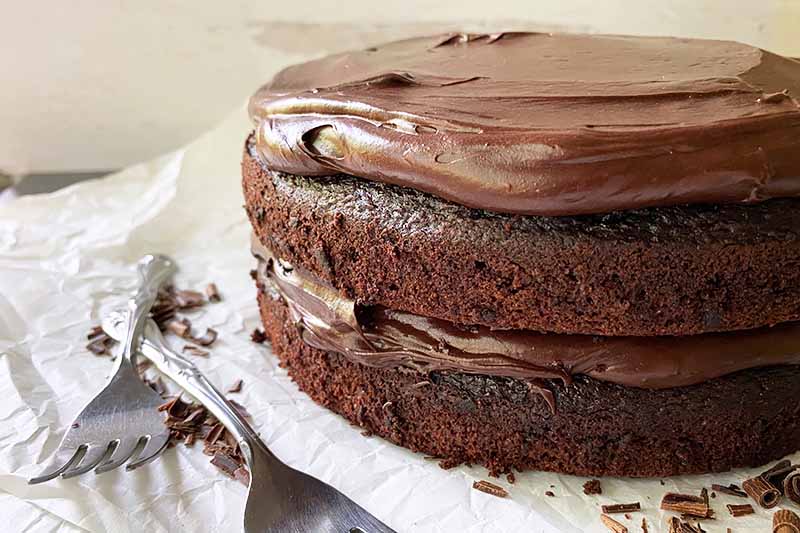
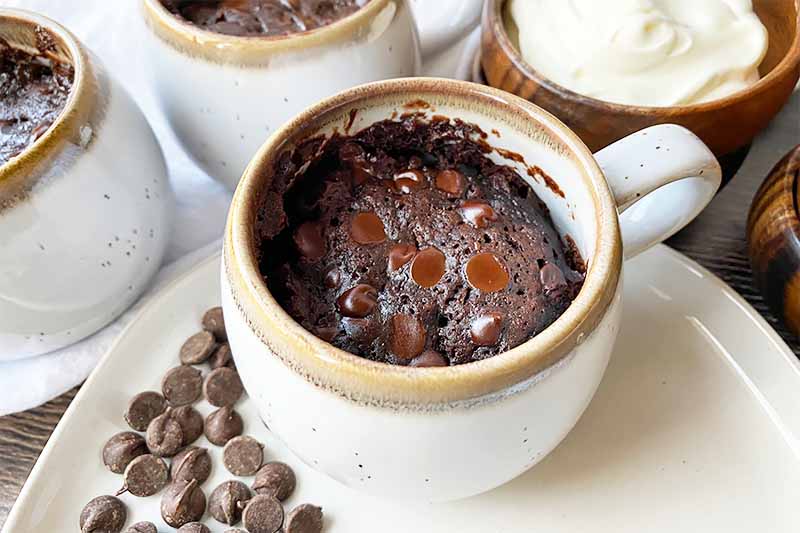
Molten Chocolate Lava Cake
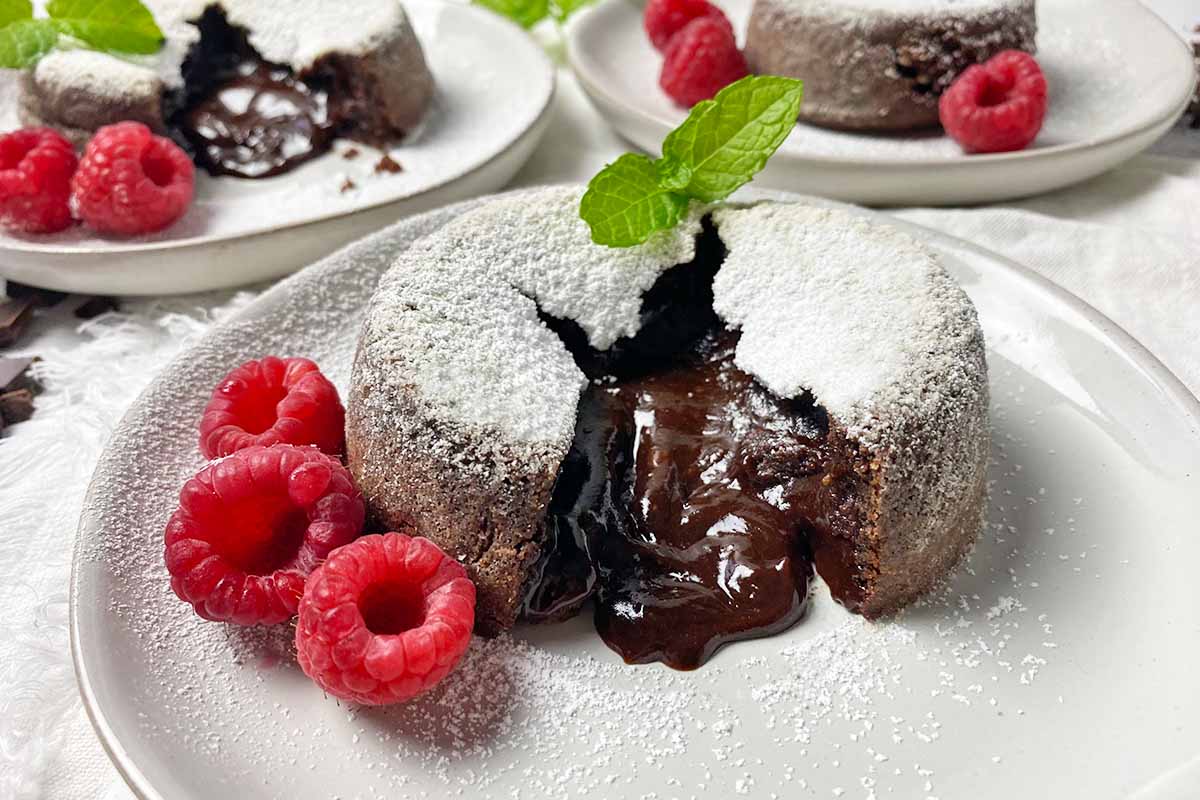
With a tender cake exterior and a gooey, flowing center, classic chocolate lava cake is an indulgent dessert that will definitely satisfy your strongest cravings. And you can take this iconic treat from the fancy restaurant setting to your cozy home kitchen with our easy homemade recipe. Read more now.