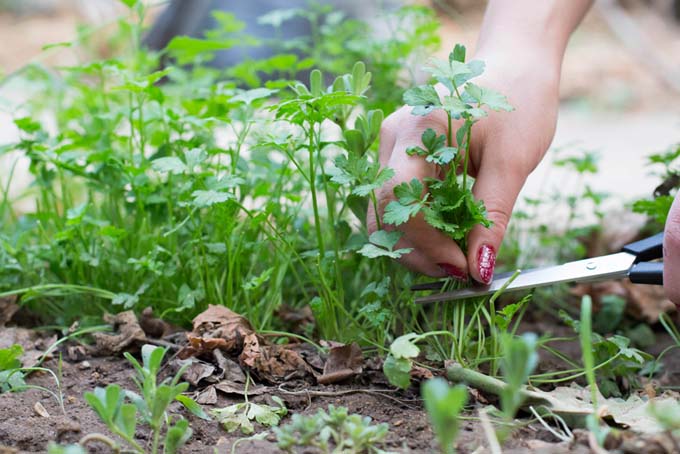
Parsley: The World’s Favorite Herb
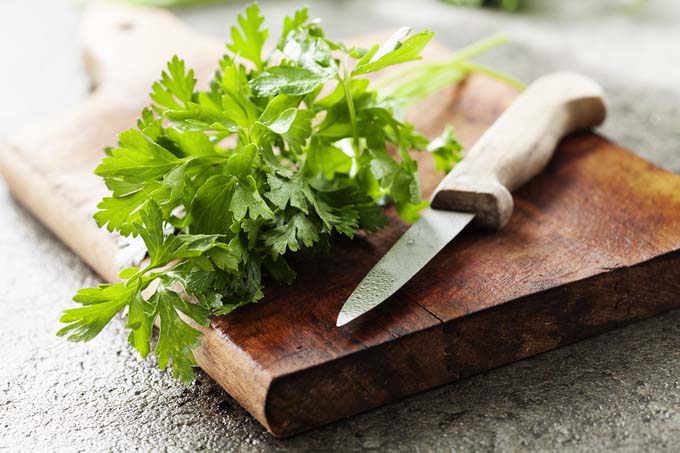
Every wondered what parsley can be used for other than a garnish or an ingredient in Italian food? Believe it or not, parsley has many medicinal benefits. Explore how this vivacious herb can be used to improve your well-being now.