
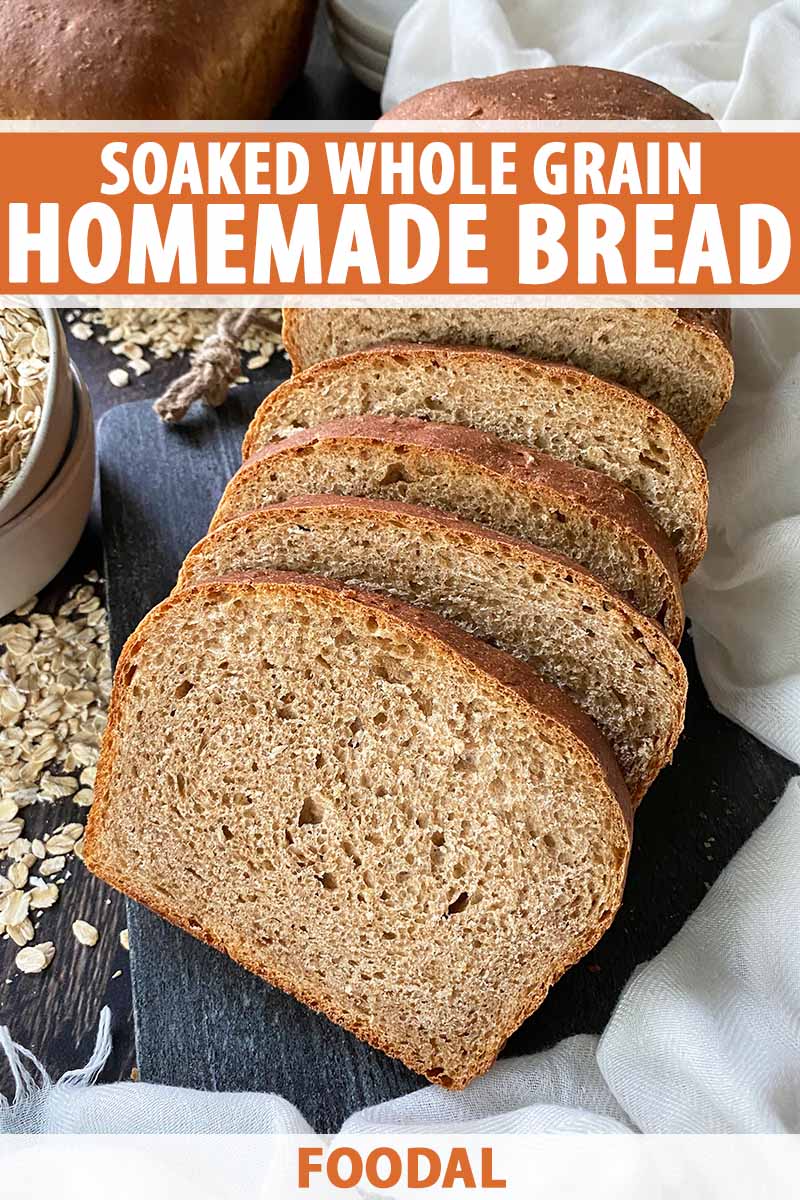
Brace yourselves, bakers: homemade soaked whole grain bread will be a long labor of love!
On top of an extended soaking period of at least 12 hours, you’ll need a good chunk of the next day to dedicate to mixing, kneading, proofing, shaping, baking, and cooling.
So, why even bother, you ask?
For the love of the craft! For the pride of baking something wholesome and healthy! For living out your best existence as an artisan home baker!
I bake, therefore I am.
Whole grain bread has earned its notoriety as being a difficult dough – its texture can be unreasonably tough to work with, and it doesn’t always yield the most pleasing final product, especially when things go wrong.
Failing to create the right mix of ingredients, or improper proofing, can lead to loaves that are excessively dense and doughy.
For the best success when baking with whole grains, it’s all about achieving the right combination of baking techniques and ingredients to get a whole grain bread that is delicious.
And not dense, hard as a rock, and ultimately inedible.
With the addition of some all-purpose flour, it still has enough fluff to make it a great loaf to enjoy for your daily meals. It’s a similar technique we use in our other whole grain bread with seeds and oats recipe, which uses a strategic combo of spelt, whole wheat, and bread flour.
And soaking the majority of the dry ingredients in water, olive oil, and apple cider vinegar for 12 to 24 hours also improves the final texture and rise.
Soaking the dry ingredients helps to hydrate and soften them, allowing the proteins and starches in the flour and oats to absorb the liquid ingredients. This helps with the kneading process, making the dough easier to handle.
And here’s another bonus to this process:
As explained by Foodal contributor and registered dietitian Kelli McGrane, the phytic acid present in oats and whole grains can be difficult to digest and can block absorption of minerals. Soaking with a fermented acidic liquid (like buttermilk, kefir, yogurt, or apple cider vinegar) breaks down the phytic acid, helping your body be able to digest and absorb the nutrients.
The soaking process is just one area where patience is required for this recipe. Continue holding on to that virtue, because you’ll still need it throughout the recipe!
If you aren’t patient, you won’t get anywhere near the desired results.
Take all the necessary time with the fermentation process, both when you’re proofing the bulk dough and when you are proofing the shaped loaves or rolls.
It can take double (if not triple) the amount of time to let the dough double in size, compared to other doughs.
Again, it’s just the nature of the ingredients, in addition to the temperature/humidity levels of your home. The bran tends to “cut” the development of the gluten network, slowing the proofing process.
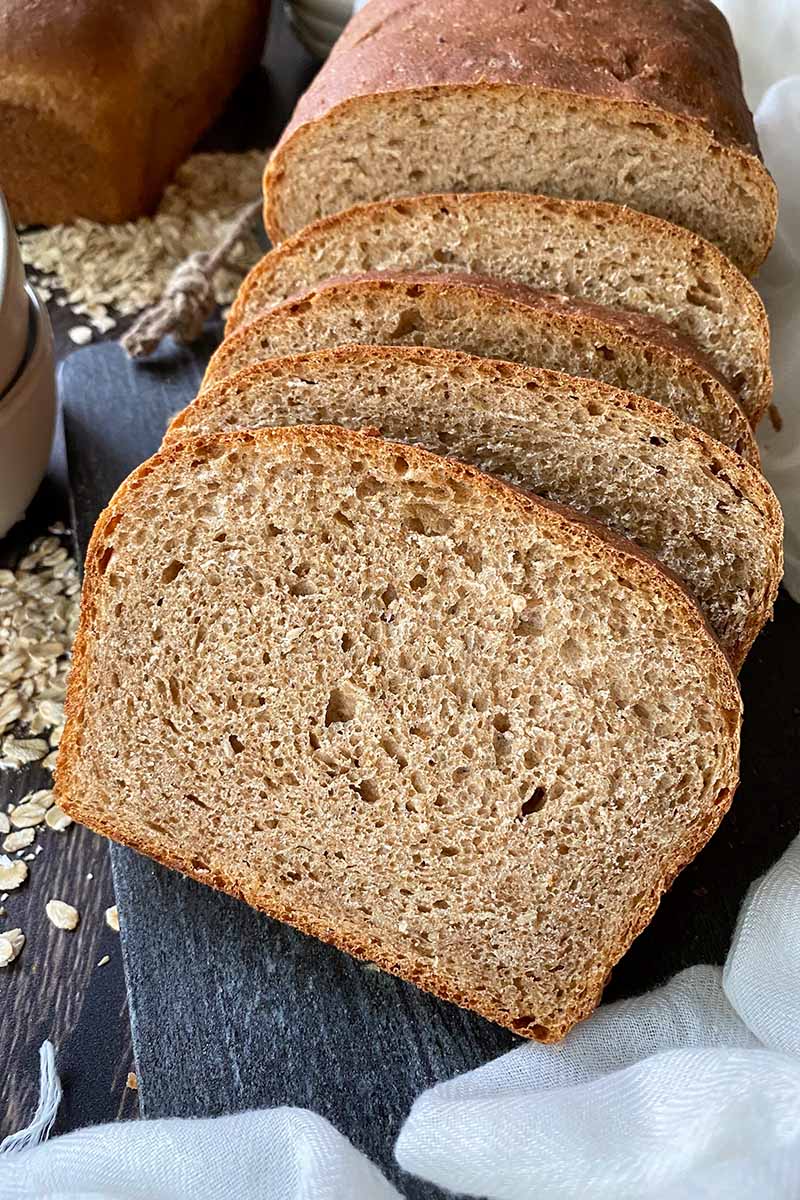
But it will rise! And you will get a stellar final product! Follow our recipe, and be rewarded (eventually) with beautiful bread loaves you can share and enjoy.
A labor of love is always worth it, in the end.
Print
Soaked Whole Grain Bread
- Total Time: 5 hours, 20 minutes
- Yield: 2 standard bread loaves 1x
Description
Learn how to make wholesome homemade soaked whole grain bread. It’s a labor of love to bake, but the results are worth every hearty bite. Read more now.
Ingredients
For the Soaked Dough:
- 4 cups whole wheat flour
- 1 cup all-purpose flour
- 1 cup old-fashioned oats
- 2 cups room temperature water
- 1/3 cup apple cider vinegar
- 1/2 cup honey
- 1/3 cup olive oil, plus more for greasing
For the Yeast Mixture:
- 1/4 cup warm water (110-115°F)
- 1/2 teaspoon honey
- 2 1/4 teaspoons (1/4 ounce or 1 small package) active dry yeast
For the Final Dough:
- 1 tablespoon kosher salt
- 1/2 cup to 1 cup all-purpose flour, as needed
Instructions
For the Soaked Grains:
- Whisk together the whole wheat flour, 1 cup all-purpose flour, and the oats until combined in a large bowl. In a separate smaller bowl, whisk together the 1 1/2 cups room temperature water, buttermilk, honey, and oil.
- Add the wet ingredients into the dry ingredients, and combine with a sturdy spoon, a plastic bench scraper, or your hands. Continue mixing together until a dense and slightly sticky dough forms.
- Cover the bowl tightly with plastic wrap, and let soak for 12 to 24 hours at room temperature.
For the Yeast Mixture:
- Once the mixture has soaked for the appropriate amount of time, continue with the recipe.
- Activate the yeast by whisking together the 1/4 cup warm water and honey in a small bowl until the honey is completely dissolved. Evenly sprinkle the yeast onto the water, and whisk to blend. Let the mixture sit for 5 to 10 minutes, or until the yeast is activated and the mixture looks frothy.
For Mixing the Final Dough:
- Add the activated yeast mixture, about 1/2 cup of all-purpose flour to start, and the salt to the bowl with the soaked dough. Knead by hand to combine the ingredients.*
- Once combined, transfer the dough to a lightly floured work surface and knead for approximately 8 to 10 minutes by hand until the dough is smooth and elastic, adding the remaining flour as needed if the dough seems too sticky.
- Form the dough into a ball, transfer the dough to a bowl lightly greased with olive oil, and tightly cover with plastic wrap. Let sit at room temperature until doubled, about 1 1/2 to 2 hours.
- Lightly grease two standard loaf pans with olive oil. Punch down the dough and divide into 2 equal pieces. Working with one piece at a time and keeping the other under a clean kitchen towel, roll it to fit inside the loaf pan. Repeat with the remaining dough.
- Gently cover the loaf pans with a clean kitchen towel. Let the dough rise until doubled, about 1 1/2 to 2 hours.
- As the dough is rising, preheat the oven to 350°F.
- Transfer the pans to the oven and bake for 35-40 minutes, until the bread has risen significantly and is golden brown on the top and sides.
- Remove the pans from the oven and rest in the pans for 15 minutes before removing from the pans and cooling completely on cooling racks.
Notes
You can also make the dough using a stand mixer with the dough hook attachment.
- Prep Time: 40 minutes
- Cook Time: 40 minutes
- Category: Baked Goods
- Method: Baking
- Cuisine: Bread
Cooking by the Numbers…
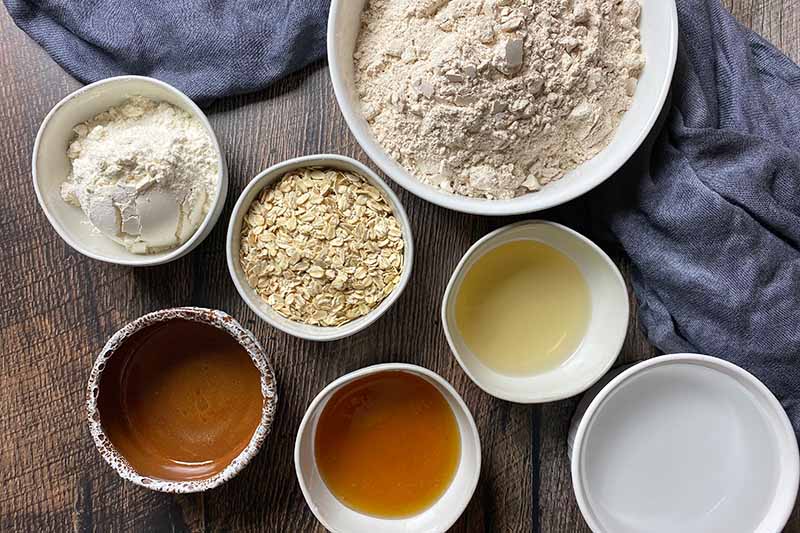
Step 1 – Prep
Before you do anything – make sure you have allotted the correct amount of time needed to make the bread! Do you have enough time to soak the dough? Are you ready for up to 4 hours or so of proofing the next day?
You also want to check the expiration date on your activated yeast. If it is expired, chances are the yeast will be dead or not strong enough to become activated.
If all is well with your timing and yeast, carry on!
Measure out the ingredients needed for soaking the dough: whole wheat flour, all-purpose flour, old-fashioned oats, room temperature water, buttermilk, honey, and olive oil.
Step 2 – Make the Soaked Flour Mixture
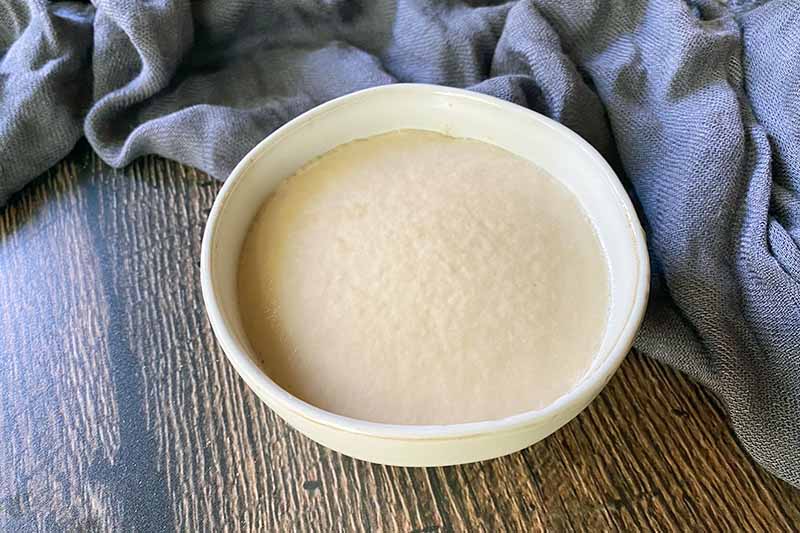
Combine all of the dry ingredients in a large bowl and whisk together. Combine all of the liquid ingredients in a smaller separate bowl and whisk together until the honey completely dissolves.
Separately combining the dry ingredients and wet ingredients will help to create a dough whose ingredients are more thoroughly incorporated. This way, you can be assured that you won’t get unmixed clumps of food like oats or honey!
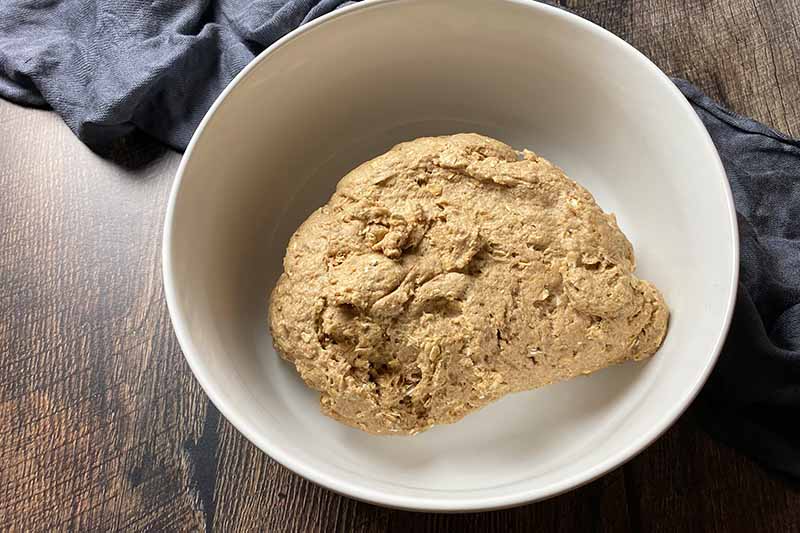
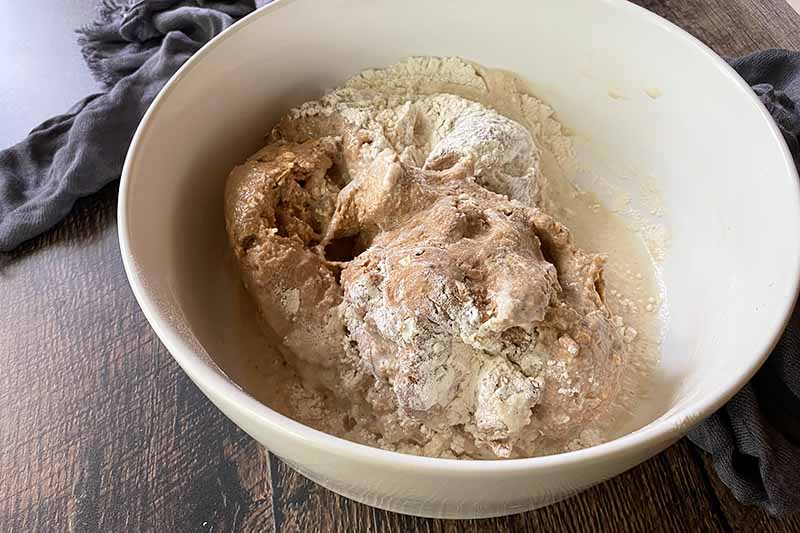
Add the wet ingredients into the dry ingredients, and combine with a sturdy spoon, a plastic bench scraper, or your hands. The mixture should yield a very dense, thick, and slightly sticky dough.
If there is still a lot of flour at the bottom of the bowl that is not incorporated into the dough, add a tablespoon or two of water at a time as you stir.
Cover the bowl tightly with plastic wrap and store at room temperature. Let the dry ingredients absorb the liquids for at least 12 hours, but no more than 24 hours – we don’t want any excess fermentation to happen, or else the bread will taste too acidic and tangy.
There won’t be a visual difference between the start and finish of the absorption process.
Choose a spot that doesn’t have any direct sunlight and away from any heat sources like your oven.
If your home is particularly warm, or if you have a busy schedule, you may want to consider soaking in the refrigerator. The colder storage temperature will reduce fermentation activity, and will inhibit any potential harmful bacterial growth.
A cold fermentation is particularly important if you decide to use a dairy product for your fermented liquid like buttermilk, kefir, or yogurt. Considering that these types of products are more sensitive to spoilage at room temperature, you should store your soak in the refrigerator with these ingredients.
If using cold fermentation, you’ll need a longer soak time – at least 24 hours to 30 hours.
Step 3 – Activate the Yeast
Pour the 1/4 cup of warm water into a small or medium bowl.
The water should be warmed to 110 to 115°F in order to activate the yeast. If it is any colder, the yeast will be activated at too slow of a pace. If it is any hotter, the heat may kill the yeast, eliminating any opportunity for growth.
Whisk in the honey until it’s dissolved – the honey helps to feed the yeast.
Evenly sprinkle the yeast over the water and whisk to blend together. Yeast tends to clump if it is sprinkled all at once in one spot, so it is best to spread the yeast around the entire surface of the water before whisking.
Let the mixture sit for 5 to 10 minutes. You will know the yeast is alive and activated when the mixture looks frothy. Like a smelly little cloud.
Step 4 – Add Remaining Ingredients to the Soaked Grains
Before getting your hands dirty, lightly flour a clean work surface for the next step!
Add the activated yeast mixture, about 1/2 cup of all-purpose flour to start, and the salt to the bowl with the soaked dough.
Mix and fold by hand to combine, at least until the water from the yeast mixture gets absorbed.
Step 5 – Knead
Once combined, transfer the dough to the prepared work surface. Knead for approximately 8 to 10 minutes (maybe up to 15 minutes if you have weak arms like me!) by hand until the dough is smooth and elastic. Not shaggy!
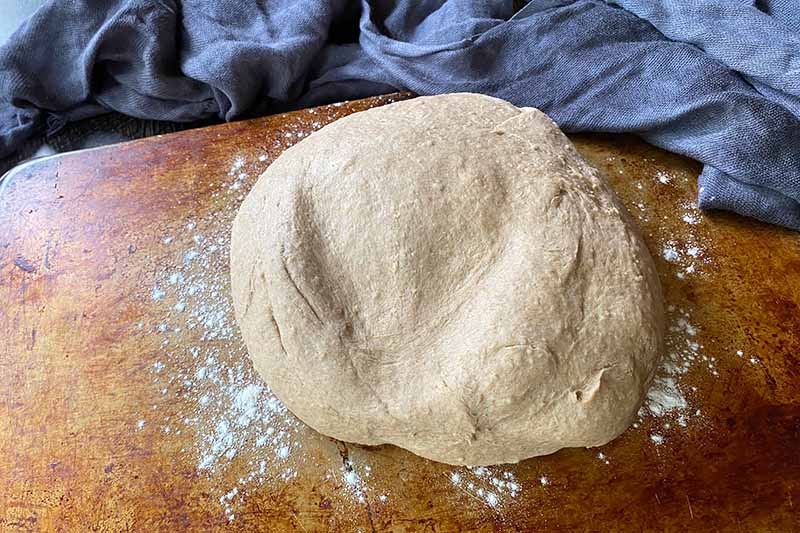
Does the dough seem way too sticky? If it is sticking to your hands a lot, you’ll need to add more flour. Continue adding the remaining flour as needed to take the dough from sticky to smooth and elastic. Knead in about 1/8 cup of flour at a time.
You can also complete Steps 4 and 5 in a stand mixer fitted with the dough hook attachment. But sometimes it’s nice to get a good upper body workout – it hurts so good!
Step 6 – First Proof
Lightly grease a large bowl with olive oil.
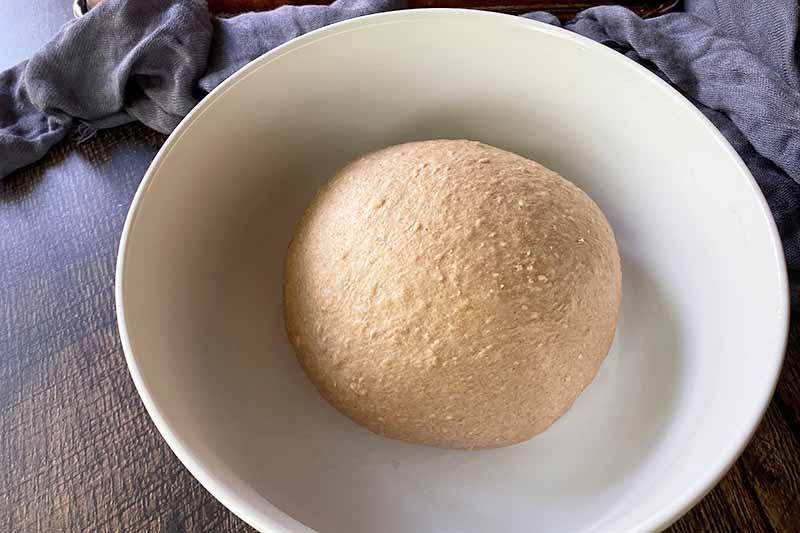
Once you have achieved the right consistency of your dough, it’s time for the first proof!
Shape the dough into a large ball. Place the dough inside, and roll it once to coat the entire exterior. This will help to prevent the outside of the dough from drying out.
Tightly cover the bowl with plastic wrap. Let sit at room temperature for about 1 1/2 to 2 hours. The dough should double in size.
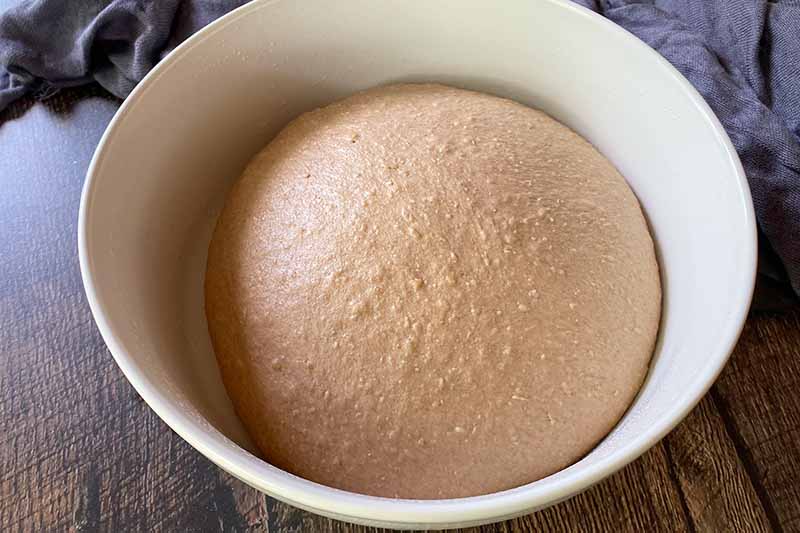
Take a picture of the dough before it starts rising, so you know the starting point of the dough, and how far the rising process has gone.
If it still hasn’t reached the right size after two hours, continue allow it to rise, checking its status every thirty minutes.
Step 7 – Divide and Shape
Lightly grease two standard loaf pans with olive oil.
Punch down the dough and divide into two equal pieces, and form into flattened balls. Use a kitchen scale to get the most accurate weights, if you want the loaves to rise and bake similarly.
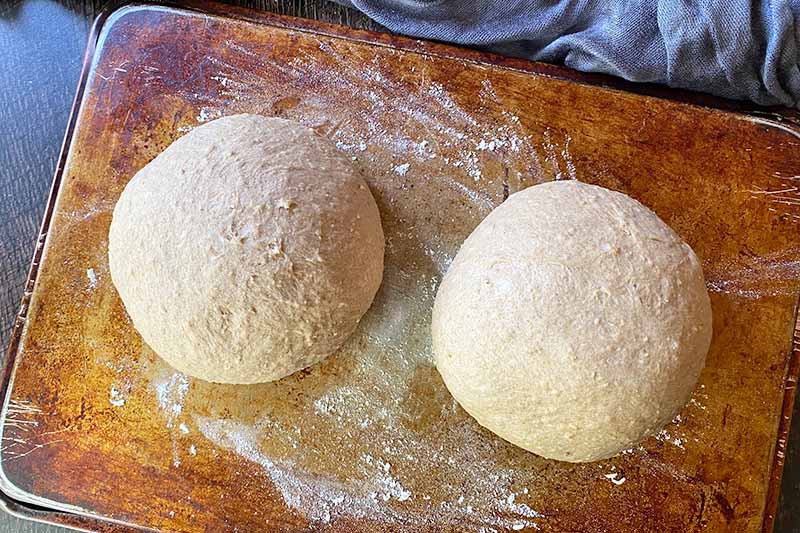
Work with one piece at a time, while keeping the other under a clean kitchen towel on a lightly floured work surface.
Create a log shape that will fit inside the loaf pan:
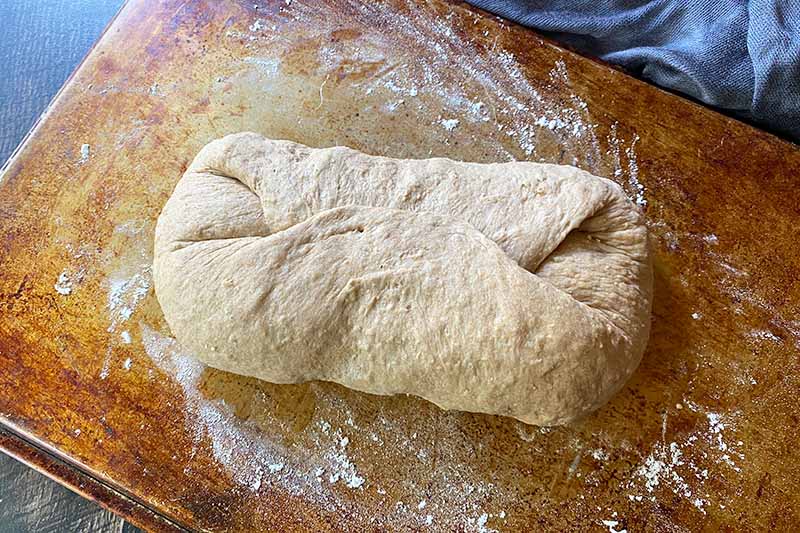
Starting at the edge furthest from you, pull up and into the center of the flattened dough. Repeat with the bottom edge, then the right and the left edges.
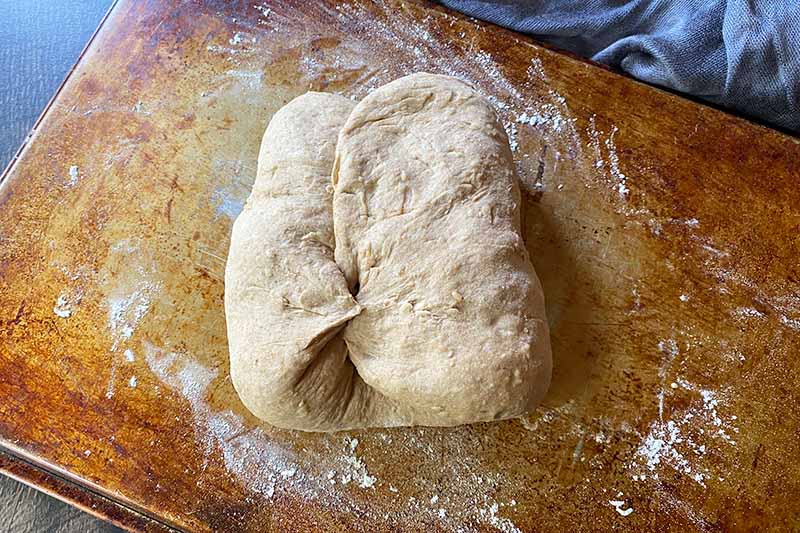
Returning to the starting edge, fold the dough in half and flip so that the smooth side is now facing up, and the seam is on the bottom. Gently roll the dough towards you to create a taut skin.
Roll and flatten it slightly to create a log shape.
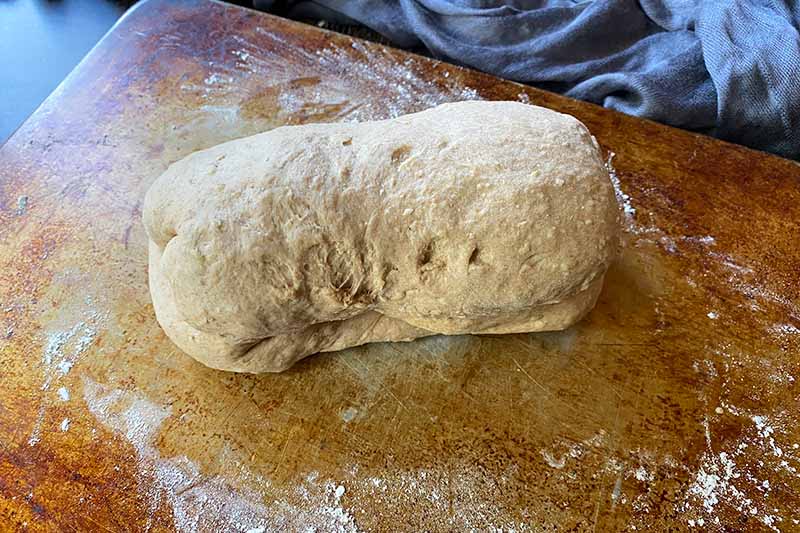
Place seam-side down in the prepared pan. Repeat with the other piece.

You can study this technique in our article on shaping bread dough. You can also have some fun with the shapes and to try to create knots or dinner rolls! Just note that these will bake more quickly.
Step 8 – Second Proof
Once the shaped loaves are in the pans, gently cover the loaf pans with a clean kitchen towel. Let the dough rise at room temperature until doubled, for about 1 1/2 to 2 hours.
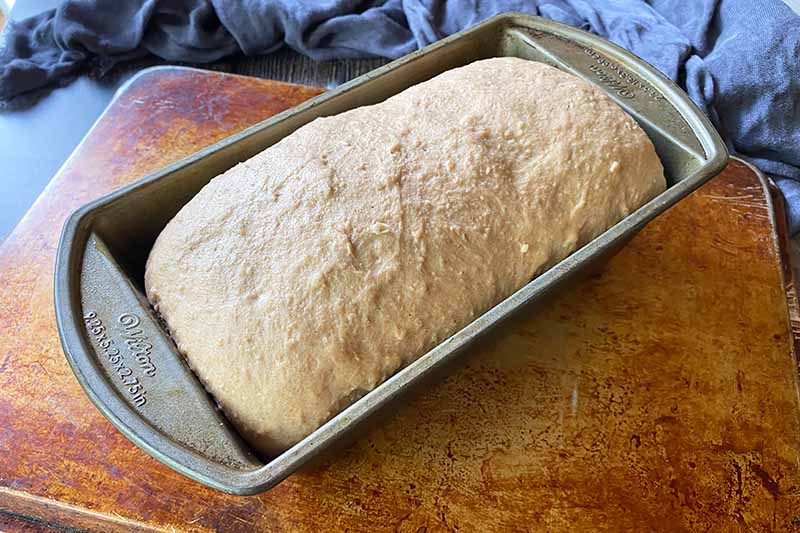
Again, this may take more than 2 hours – have patience! The timing will vary every time you make the dough, depending on the temperature in your kitchen.
Don’t rush the process, and keep thinking of how puffy and well-risen your bread will be if you let it proof for however long it needs!
As your dough nears the end of the second proof, preheat the oven to 350°F.
Step 9 – Bake
Transfer the pans to the oven and bake for 35 to 40 minutes, until the bread has risen significantly and is golden brown on the top and sides.
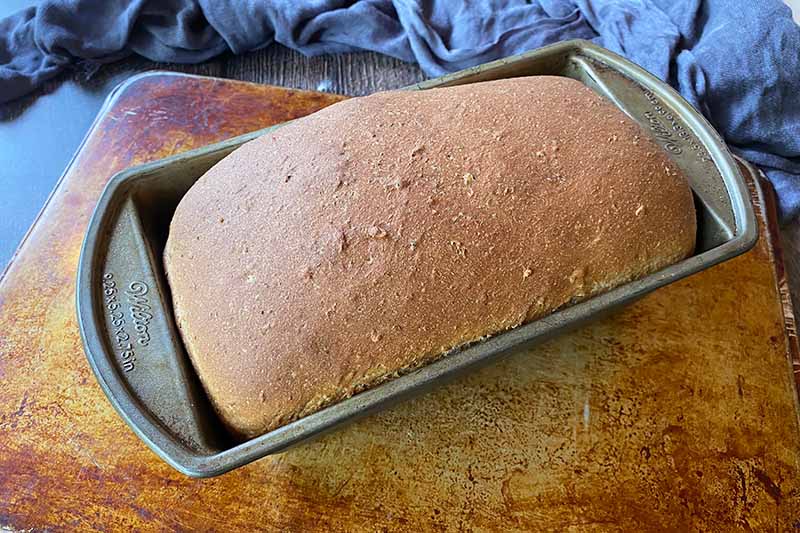
I suggest rotating the pans about halfway through the baking process to promote even baking.
Once baked and beautiful, remove the pans from the oven and let the bread rest in the pans, undisturbed, for 15 minutes.
Remove the bread from the pans and place them on cooling racks with a few inches of space in between them to allow for airflow.
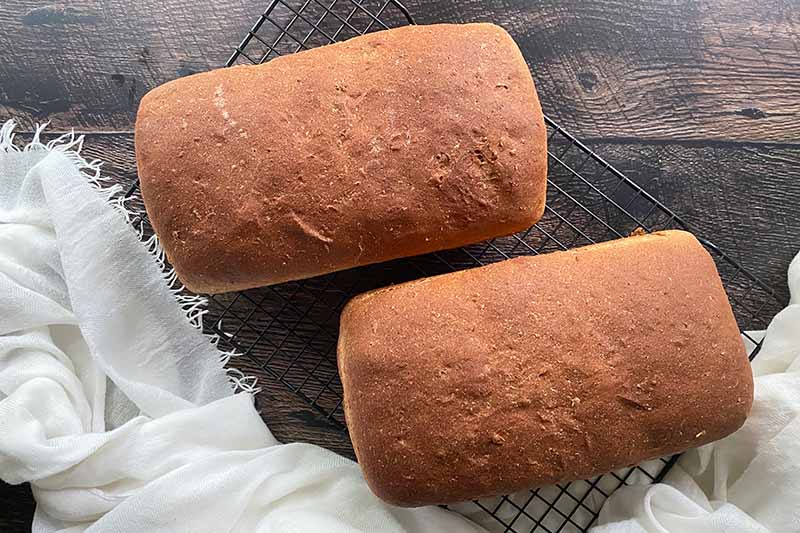
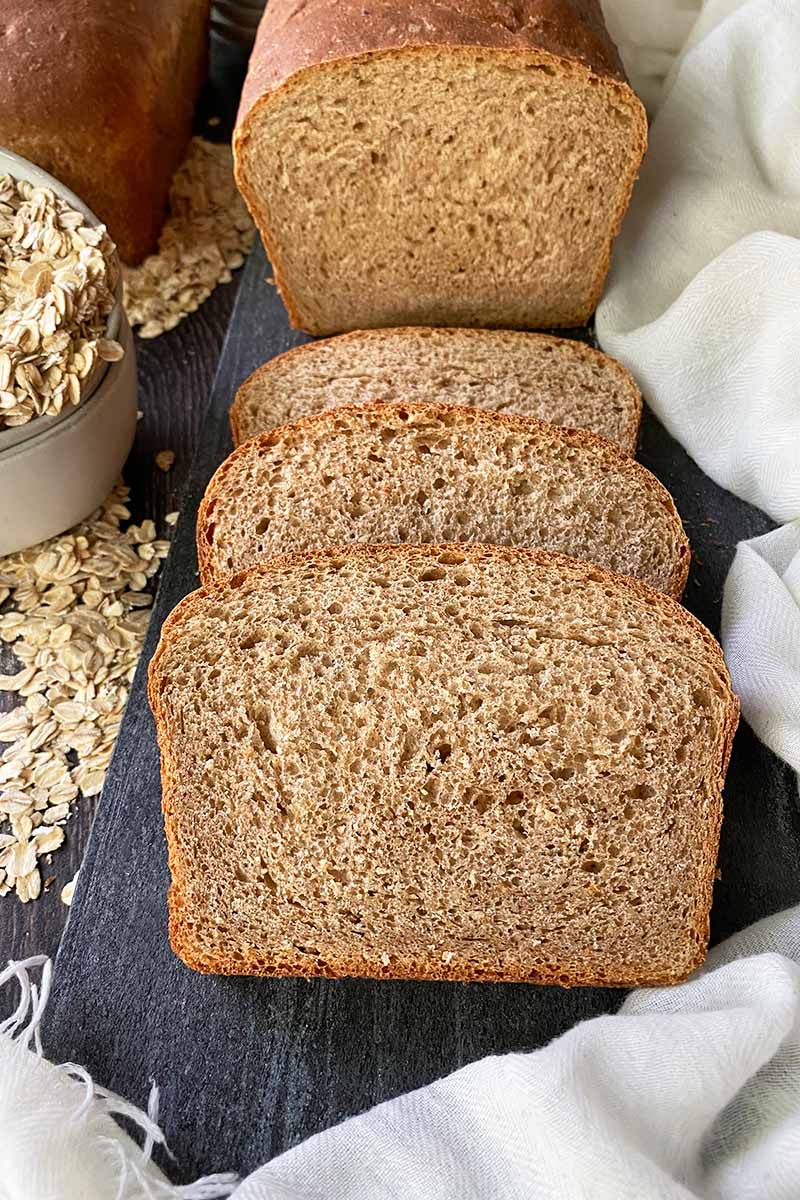
Cool completely before cutting and serving!
But if you can’t wait and want it warm, I understand. At least give the bread a significant 45 minutes of cooling time so the interior structure has had enough time to set.
A Little Different, But Still Worthy of Love
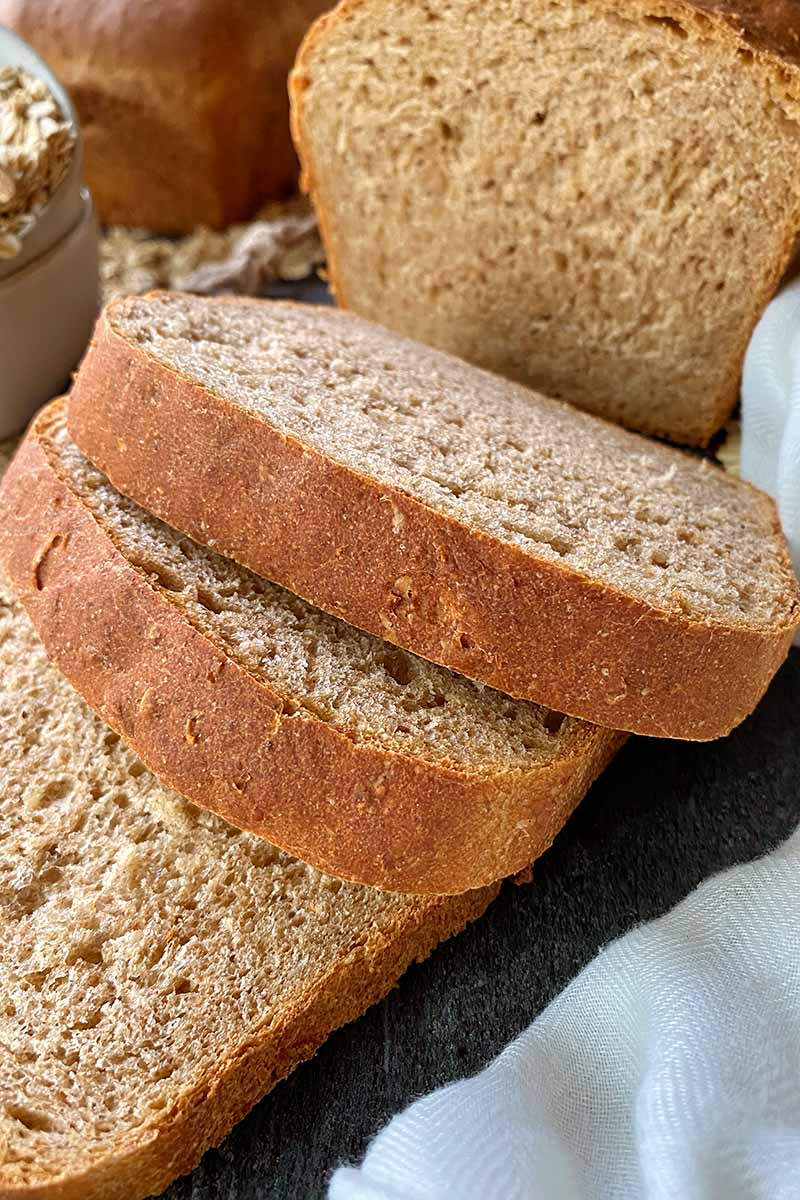
The main warning I must share with you is that this soaked whole grain bread won’t taste anything like its more popular, refined cousins.
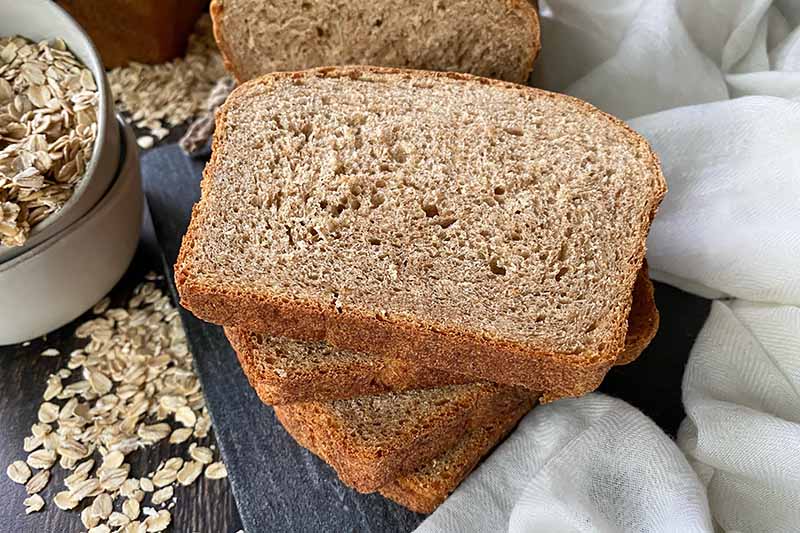
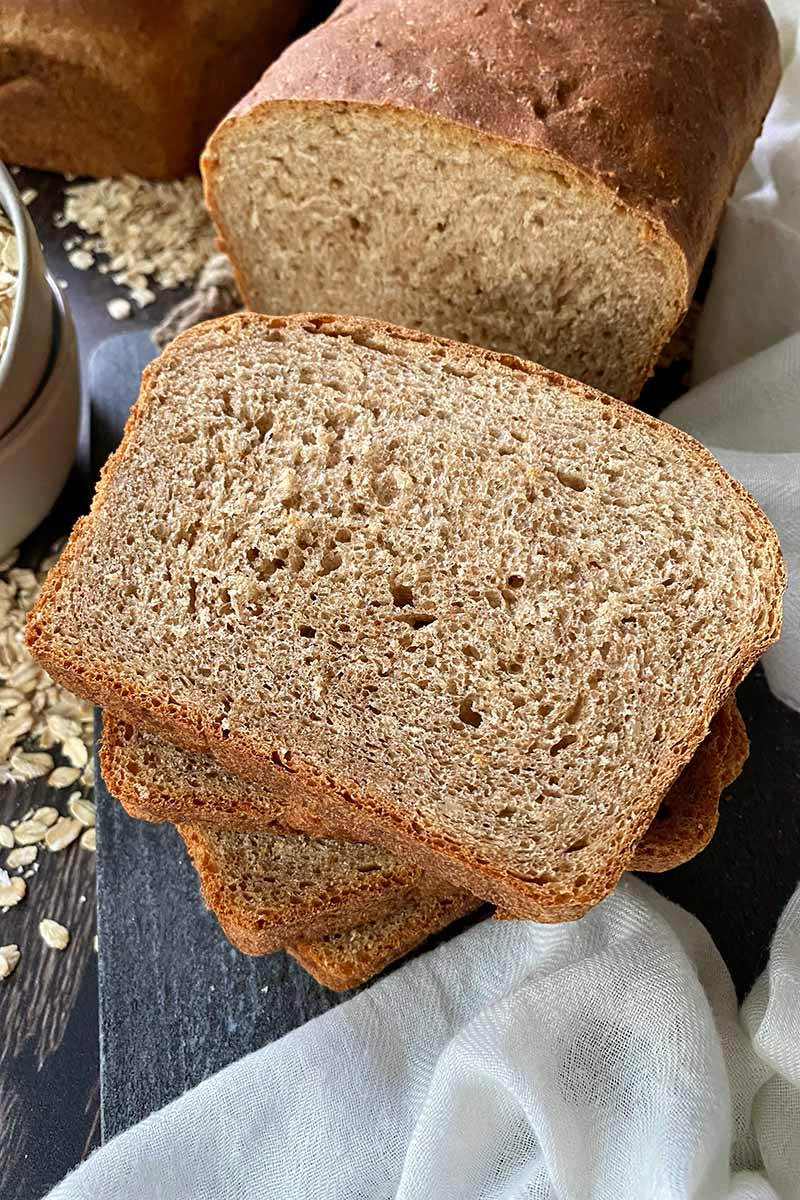
The hearty whole grain texture sprinkled with old-fashioned rolled oats throughout the crumb won’t be as light and lovely as typical white bread.
And it won’t have a crunchy crust and open-aired texture like sourdough recipes, or have the same deep flavor footprint as an olive oregano loaf.
But love it all the same!
Once toasted to golden-brown perfection, slices of this whole grain bread can stand up to heartier toppings. I’ve used it for sandwich bread when I’m looking for something more substantial than white bread for my stacked deli meat, cheese, and pickle sandwiches.
And its wholesome vibe is a great companion to vegetables. Try it with layers of hummus, avocado, and sun-dried tomatoes, or with sprouts, avocado, and cheddar.
And take a peek at our tips for using the entire loaf of bread. Yes, including the ends!
What are some of your ideas for using this bread? Will you bake it into loaves and use the slices for sandwiches? Or will you bake rolls and knots, and serve them in a big bowl next to your main dinner course? Leave a comment below!
Still working through a big container of old-fashioned oats? Hey, it was on sale – I get it! Try a few more of our favorite recipes that incorporate hearty oats:
- Maple Oat Bread (Vegan)
- Savory Granola with Oats, Nuts, Herbs, and Spices
- Honey Grapefruit Scones with Oats and Einkorn Flour
Photos by Nikki Cervone, © Ask the Experts, LLC. ALL RIGHTS RESERVED. See our TOS for more details. Originally published by Shanna Mallon on March 15, 2010. Last updated on June 6, 2022.
Nutritional information derived from a database of known generic and branded foods and ingredients and was not compiled by a registered dietitian or submitted for lab testing. It should be viewed as an approximation.
About Nikki Cervone
Nikki Cervone is an ACS Certified Cheese Professional and cheesemonger living in Pittsburgh. Nikki holds an AAS in baking/pastry from Westmoreland County Community College, a BA in Communications from Duquesne University, and an MLA in Gastronomy from Boston University. When she's not nibbling on her favorite cheeses or testing a batch of cupcakes, Nikki enjoys a healthy dose of yoga, wine, hiking, singing in the shower, and chocolate. Lots of chocolate.


oh, ugh. I once made at least 3 batches of failed dinner rolls before realizing perhaps it was my yeast that was old and tired and not that my kitchen was too cold to allow a proper rise. *sigh*
i enjoy making bread, something about the kneading and basically punching it to death is therapeautic. i’ve had my epic failures and THANK GOODNESS i always have people who’ll eat the creations anyway, even when i won’t.
i’ve been lamenting as of late about the lack of bread in my life, as i still refuse to BUY it now that i know how to BAKE it. i will make this particular bread because you’ve endorsed it but also because it reads like a science project.
this looks fantastic! kind of like Irish brown bread. we make a couple loaves of bread each week, and i’m thinking this needs to work into the rotation!
cheers,
*heather*
Bread is SO HARD especially when you’re using whole grains. Every time I’ve tried to worth with whole wheat it hasn’t come out very well.
ah bread… such a fickle fellow…
I’ve never baked an awesome loaf of bread either. I got Peter Reinhart’s book as a present to myself though, and it’s time for redemption. If it works out as beautifully as the book makes it sound like it will, I’ll let you know and we’ll cry over bread together. Totally legitimate.
I haven’t baked bread in such a long time – I suppose because of failures. I have, however, figured out how to make perfect pizza crusts! They work pretty much everytime. I know the recipe is just about the same – but science or art- the bread has alluded me as of late. This recipe looks way overwhelming, but I certainly applaud your efforts.
I’ve actually never made it. My mom had a breadmaker and I used to LOVE fresh, homemade bread but then she stopped using it. I would love to get my hands on that.
I feel your ongoing frustration with bread – I’ve had pizza dough that didn’t rise, rolls that didn’t rise and bread that I had to turn into flatbread. The first time I got bread to rise at all, it wasn’t even fully risen when I baked it but I couldn’t have been more thrilled!
Bread is one of very few things I think twice about making. I recently tried a simple soda bread recipe from Bon Appetit, in an article about an actual Irish inn’s recipe but it turned out awful. The outside was overdone and the inside was dough, not cooked one bit.
I have had plenty of bread heartache and was raised with a breadmaker that my aunt couldn’t quite master but would still insist her nieces eat what she produced and she tried several times a week (shivers). I commend you on your gung-ho actions though.
congrats on conquering bread! woo hoo!
Shanna, Craig and I just enjoyed looking around your blog. It is amazing all that you are doing here. You have come along way with this blog. It is so outstanding. I only wish I had the ability to try out all your recipes. Love ya, Shell
I’ve always been a bit afraid myself to make ‘real bread’ …. thanks for the boost in confidence!
If the old adage ‘Success builds on success’ is true, I can’t wait to see what you churn out next!
Thanks for sharing. And congratulations!
Wow, how exciting!
This weekend was the first time that this recipe didn’t come out quite right for me, and it’s still really good — but I forgot about it in the second rising, and it rose way too much. So it has a few holes here and there, but it’s not bad. I tried making dinner rolls since you said that it worked for you, but I left them in the oven too long. Oh well. I’ll pay more attention next time!
One experiment I tried successfully this time was mixing some things in before I rolled it up for the second rising. For one loaf, I added cinnamon and mixed dried fruit. Yum, yum, yum! For another loaf, I added melted butter and shredded cheddar and parmesan cheese. Oh, that was good! The loaves came out a little funny because they rose too long, but otherwise they were great. I will definitely try mixing things in more often from now on.
Thanks for the better explanation of why the soaking thing happens. I do it obediently but hadn’t studied it enough to know why! 🙂
P.S. — your loaves look gorgeous!
i love this!!
LOVE BREAD!
I might have to try your recipe once the kitchen is clean enough to knead on the counters.
I never use a loaf pan, prefer freeform loaves like you get in artisan bakeries and my bread are excellent, approaching that of a good bakery.
Bread baking is easy and really very therapeutic even I use a food mixer with a dough hook for kneading.
This not a wholewheat bread when ap flour is added.omg
Hello, vindy! Yes, we can still refer to this as whole grain bread, because the majority of the flour in this recipe is whole wheat flour. You may be thinking of the category of 100% whole wheat bread. We have correctly not referred to this recipe as 100% whole wheat bread. In that case, there would only be whole wheat flour, and no others.